Let me begin by explaining that this dining room has gone through several iterations over the last 8 years, and the current setup is serving us the best of any other version – and it’s nothing of what we originally anticipated. Our builder-grade dining room was just that – builder-grade and basic. It was fine, but I envisioned something prettier and more purposeful. Cue the built-in dreams, but this room does not have the space. I had only done a few home projects at this point and wanted to expand my skills to molding. I educated myself, took measurements, estimated out the project cost, and then headed up to the local big box store to procure supplies.
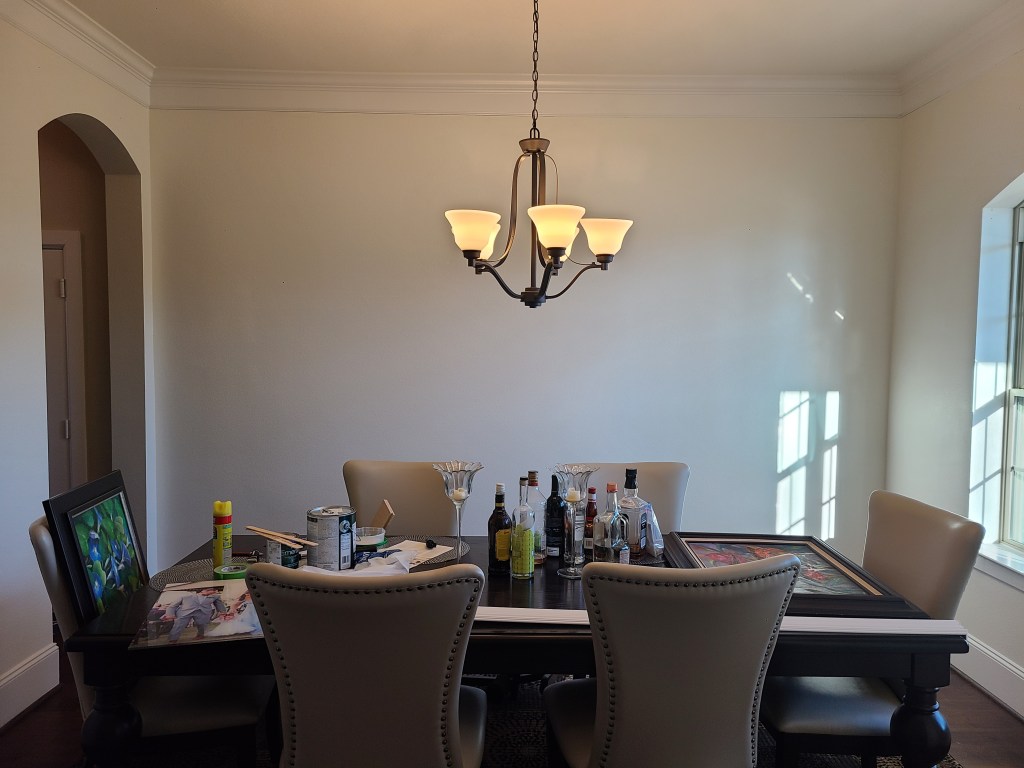
The top picture is when I remembered to document everything, but of course not until after everything had been removed from the walls and piled on the table. I loved the table, chairs, and rug, but the walls needed a little something. Originally there were grand plans of board and batten and wallpaper, but glad that didn’t come to fruition. The decision at that point in time would be chair rail and picture frame molding below the chair rail, painted in a neutral Alabaster.
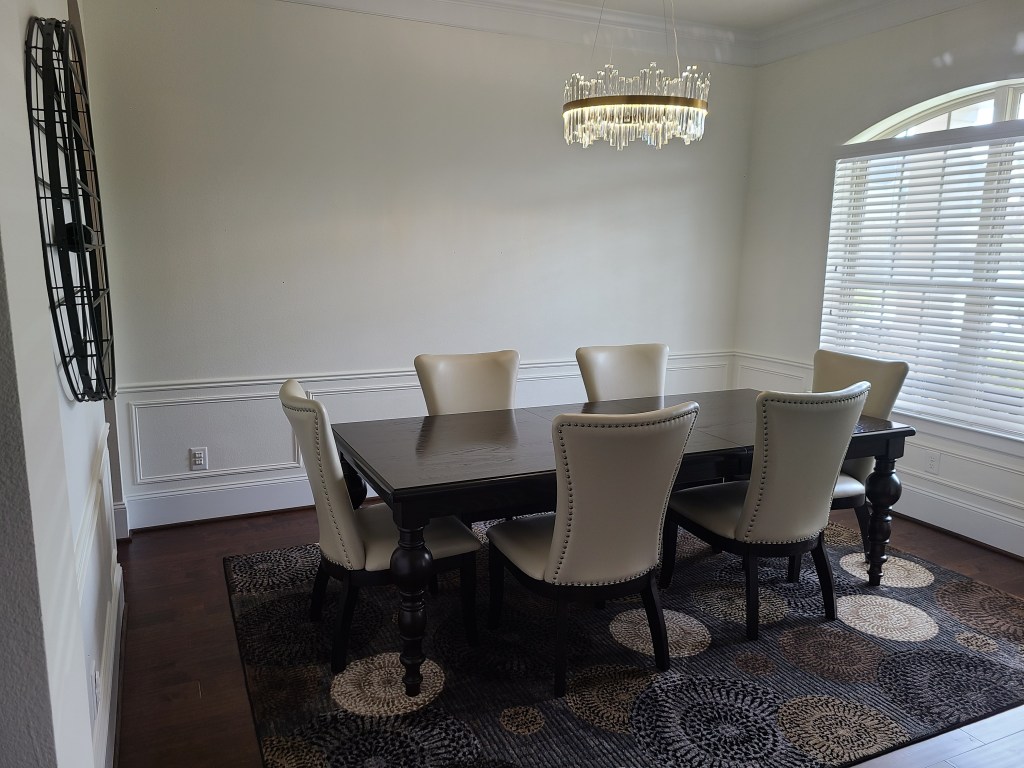
The second photo (above) is as close to finished as I would consider this space in this iteration. It is still quite plain, but the picture molding, fresh paint, new chandelier, and wine rack make it feel elevated – and that is what fit our life at that point in time!
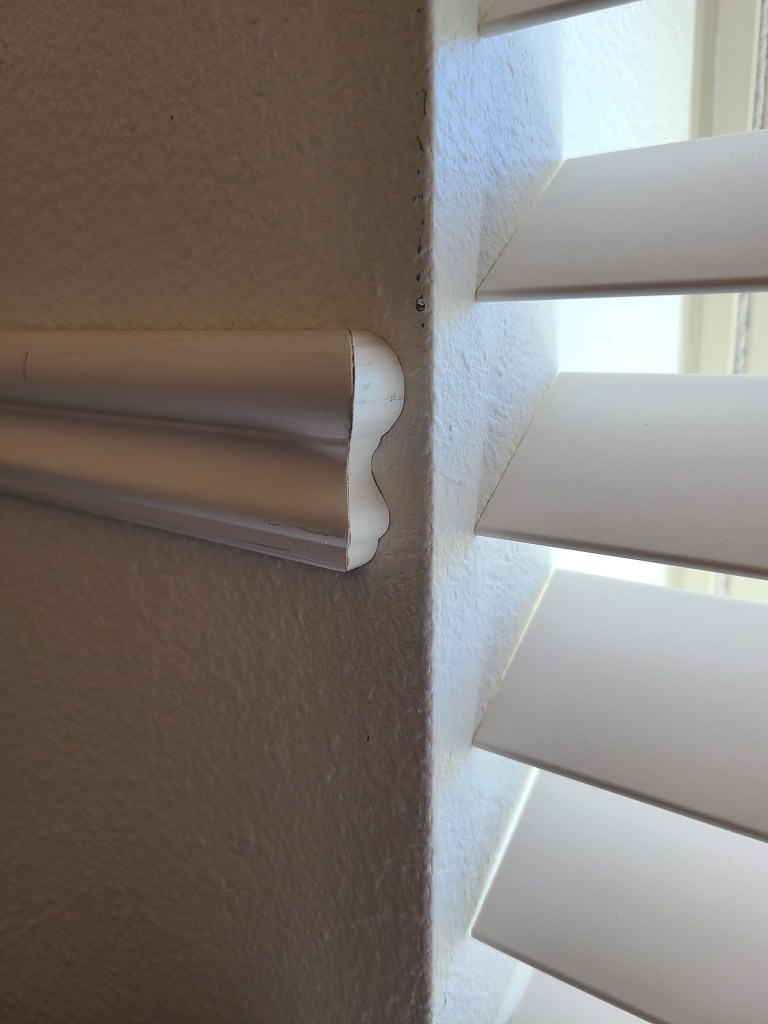
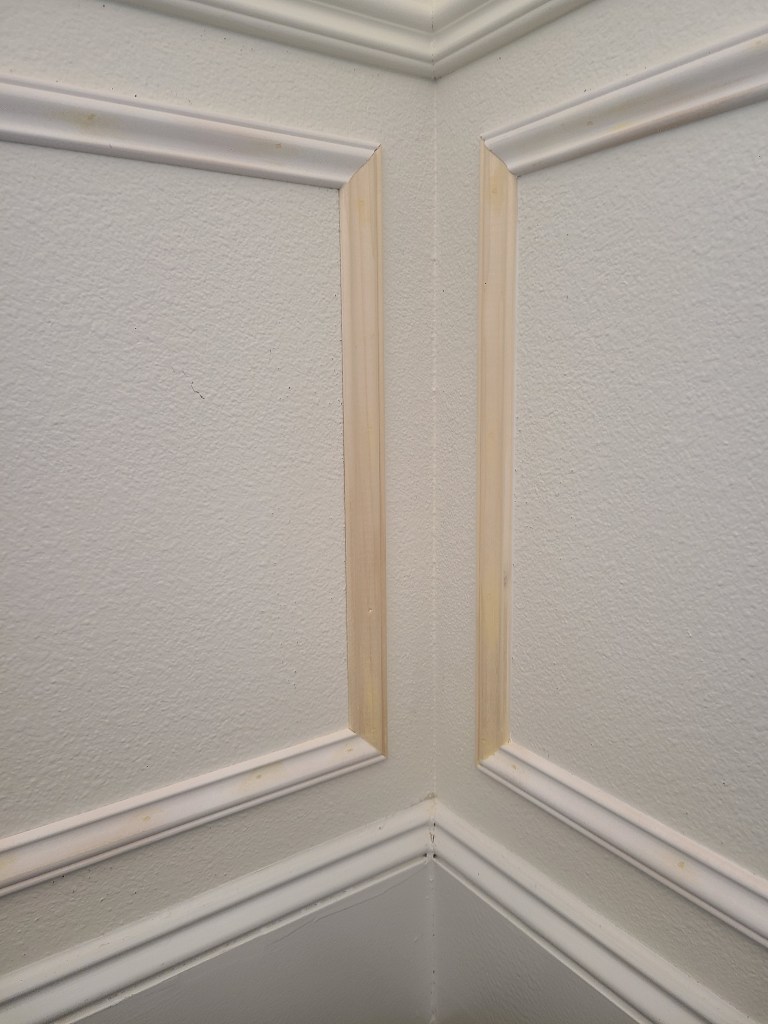

Deciding on dimensions was probably the hardest part of this project. I used painters tape and mocked things up on the computer to give a to-scale idea of what it would look like. Three boxes on each wall felt best, so I took measurements for boxes and spacing. Chair rail was cut at 45 degree bevels (for the inside corners) with end caps where it rain into a window or threshold. This was installed first, and then the picture boxes. Vertical and horizontal trim pieces were cut on the miter saw at 45 degree miters to make the picture boxes. All trim pieces were installed on the wall using a brad nailer, alternating angles to secure a firm attachment to the wall without using adhesive. Using a laser level, I hung long pieces of trim confident that it was placed correctly. Same with multiple picture boxes — while using a scrap wood spacer made the boxes and spacing equal, the laser level ensures that all boxes are properly at the same height. Some of the trim pieces were pre-primed and some weren’t, but once they were all hung on the walls, I caulked and filled nail holes for the next lifetime.
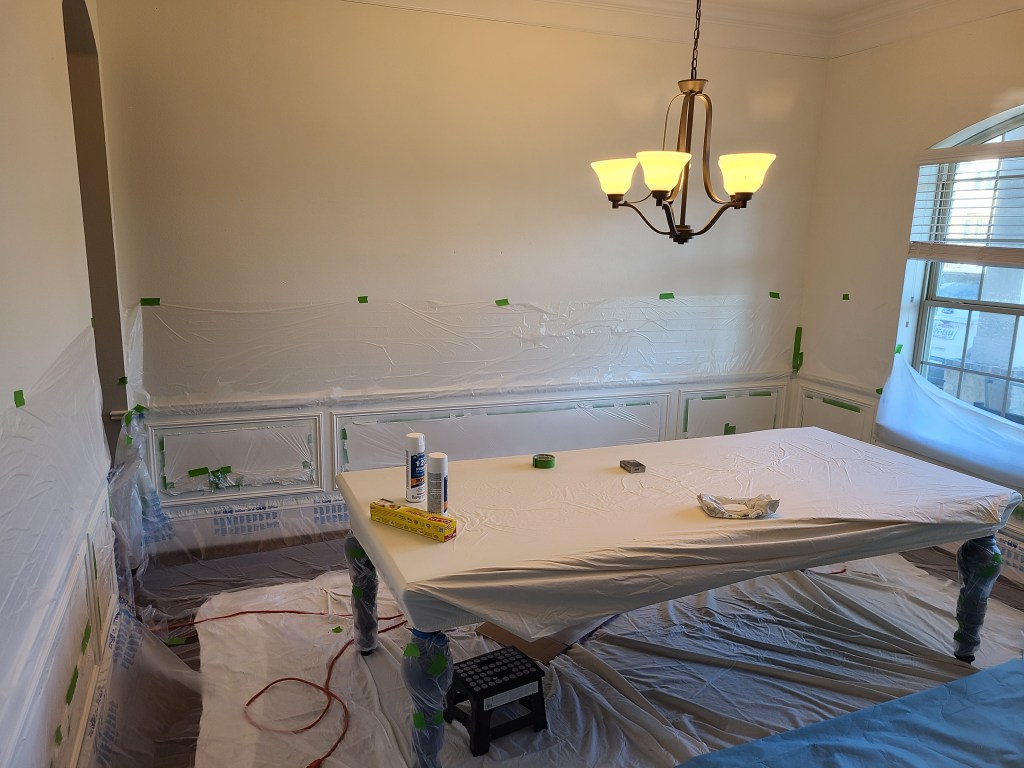
Next was time for paint! For this project, I wanted to spray all the trim with semi-gloss paint to make it easily wipeable, since they would likely catch a lot of dust. Everything was taped off with plastic to minimize overspray and I am so glad this is a step that was not skipped. It may have looked like Dexter’s laboratory, but the end result was beautiful and only took a few minutes to spray the trim in this small space.

Reflecting on this project, there’s not a whole lot I would change if I’m being honest! The budget for this space wasn’t huge and we weren’t convinced that this would be the long-term use of the space anyway. I learned some new skills and used some new toys (I mean “tools”) and overall it was a fairly quick project which was really fun!
What I learned from this project:
- Never underestimate the value of an angle-measuring tool (remember, walls are not straight or square most of the time)
- Different paint sheens will affect the texture of the wall (not in this blog post but I initially tried vertical stripes in the same color but different sheens and it was a Pinterest fail if I’ve ever had one!)
- Trim and fresh paint can make a huge impact!
