Nesting during pregnancy with my son hit me pretty hard. I found out I was pregnant with him the day after buying $800 worth of lumber to renovate our primary closet. No, I was not nesting that early, but it certainly put a fire under my rear. But, I digress. This post is about our half bath, which I decided was a priority before this baby arrived.
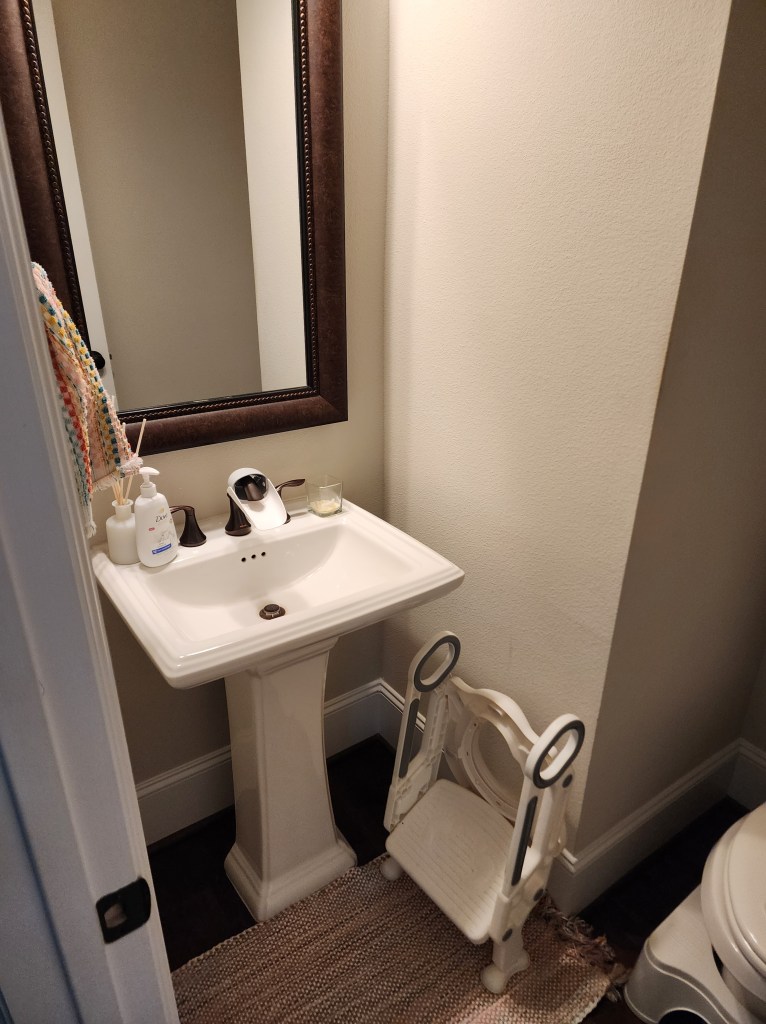
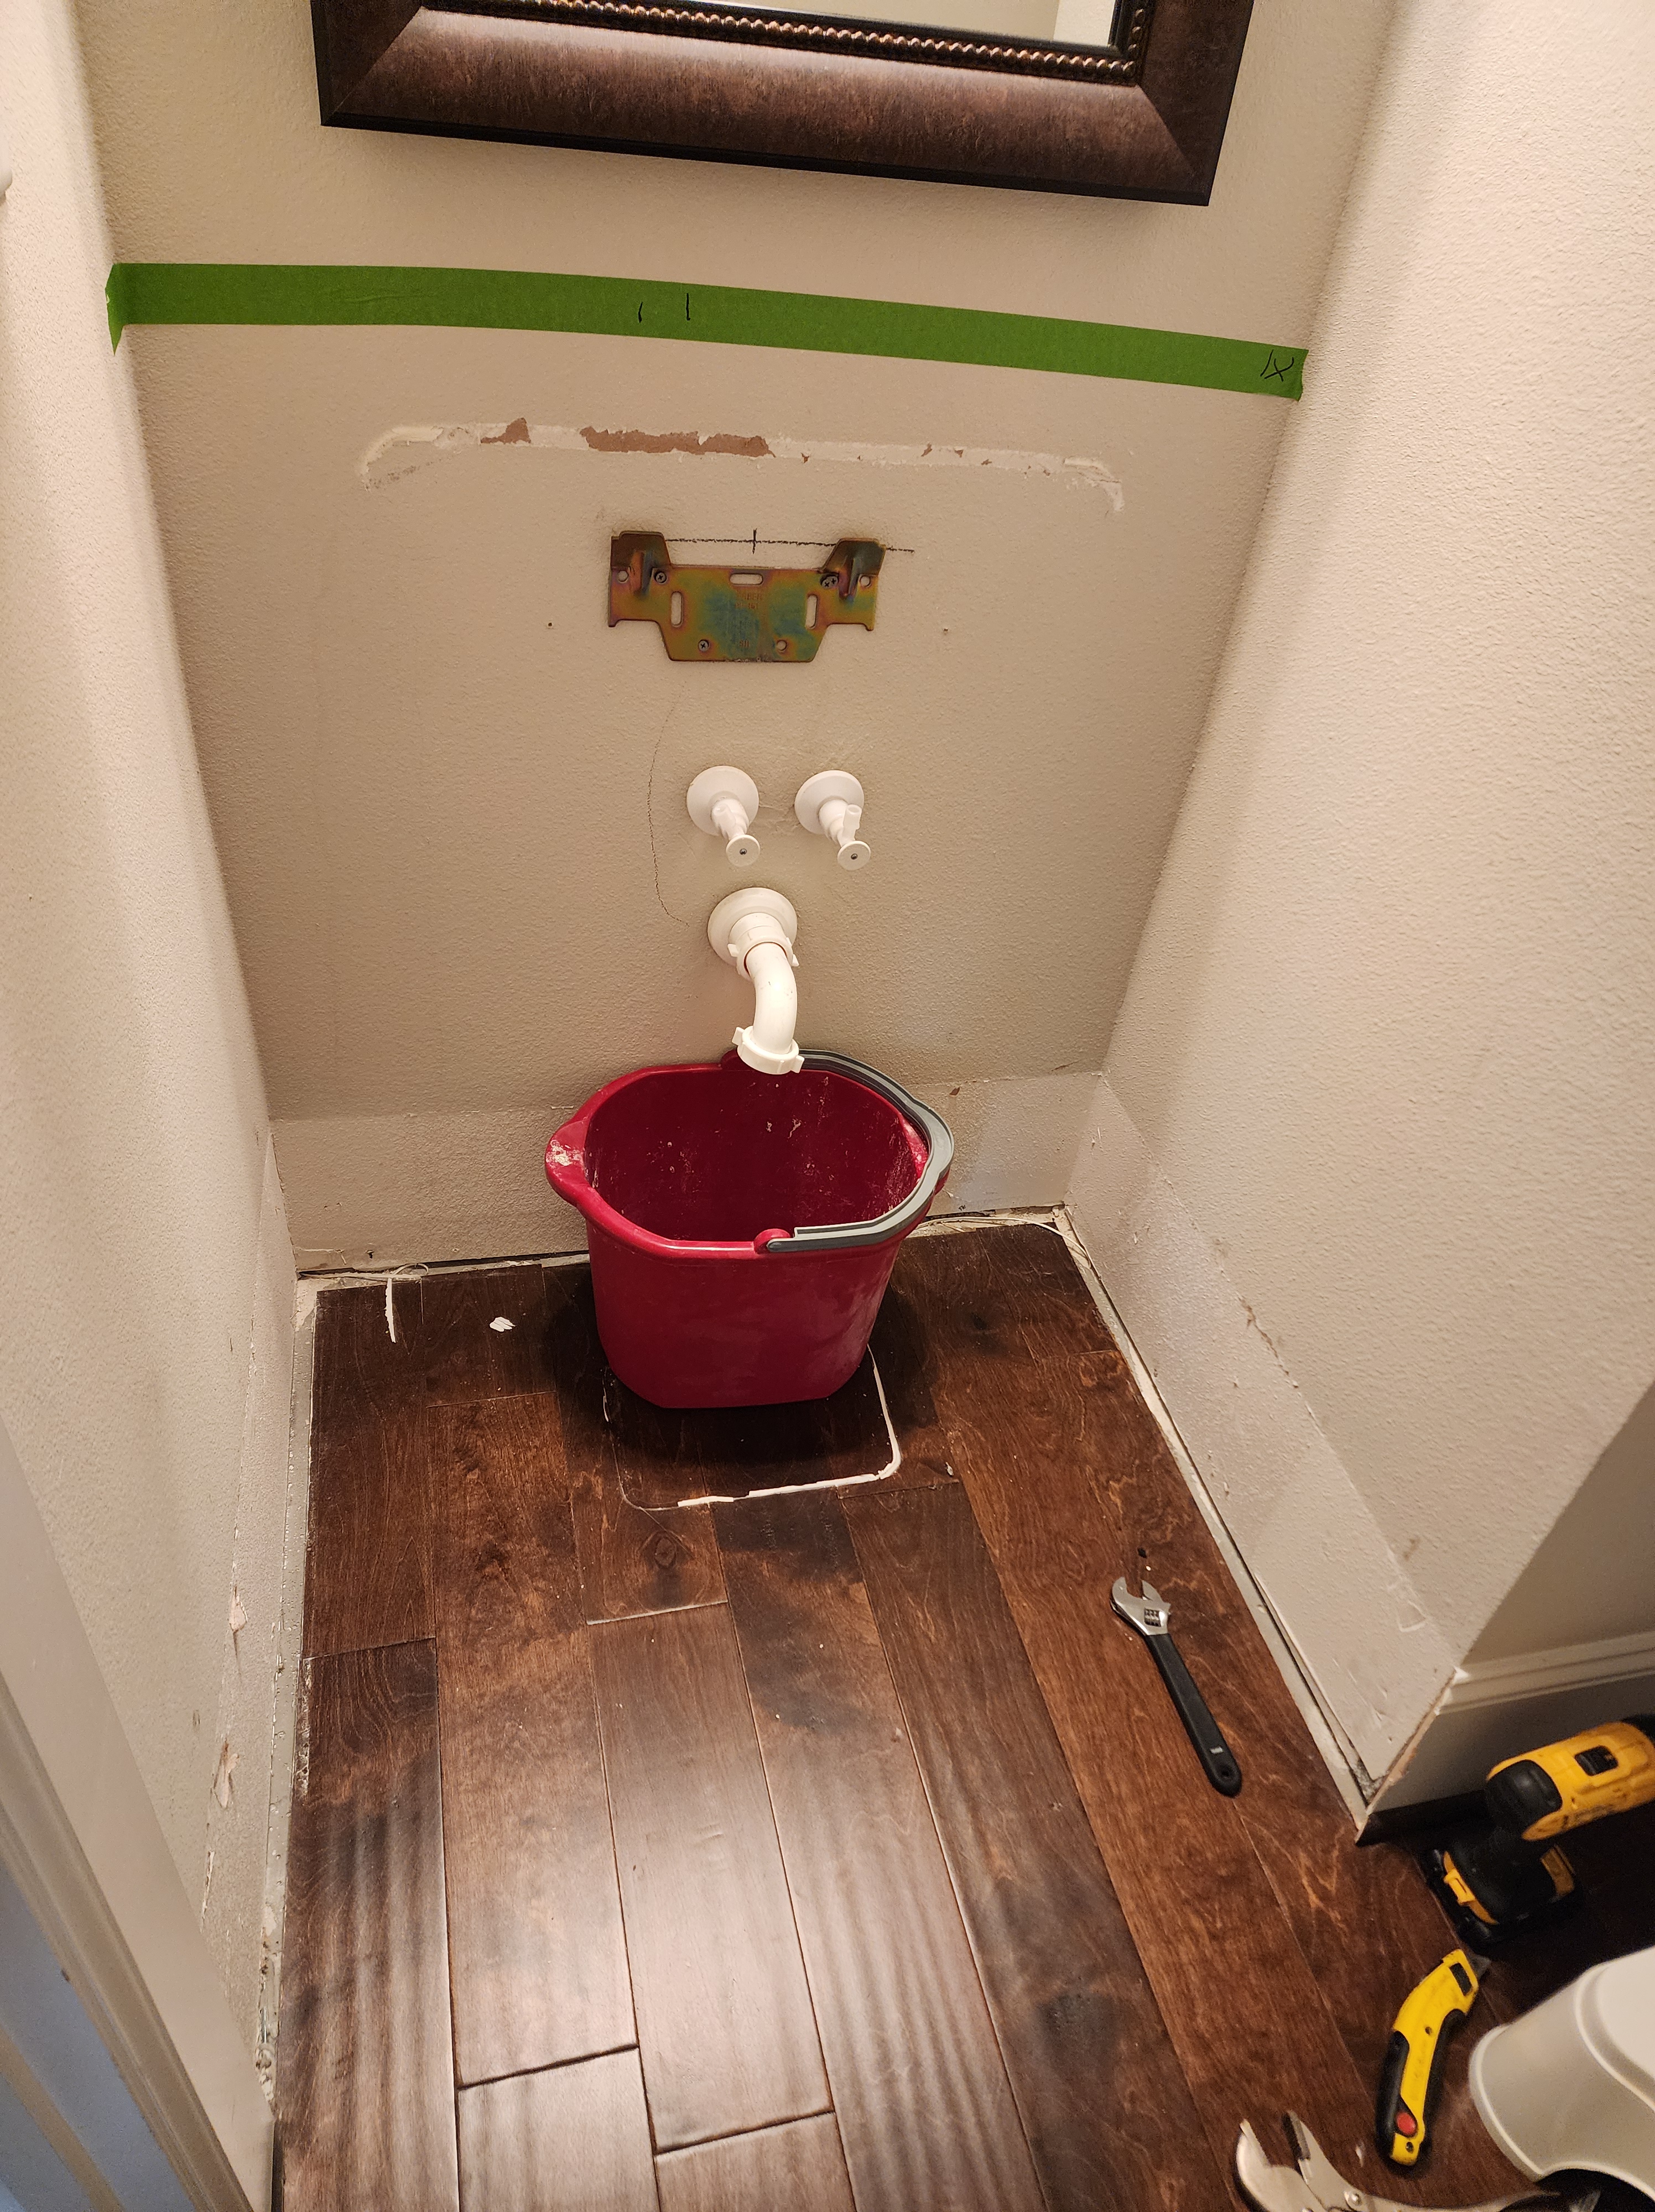
The half bathroom in our home is pretty small, but functional. Other than adding storage to every nook and cranny, the size doesn’t bother me. Originally, the only things in the half bath were a pedestal sink with bronze hardware and the toilet. It lacked storage for extra rolls of toilet paper, cleaning supplies, candles, a place to display anything, and even a towel hook.
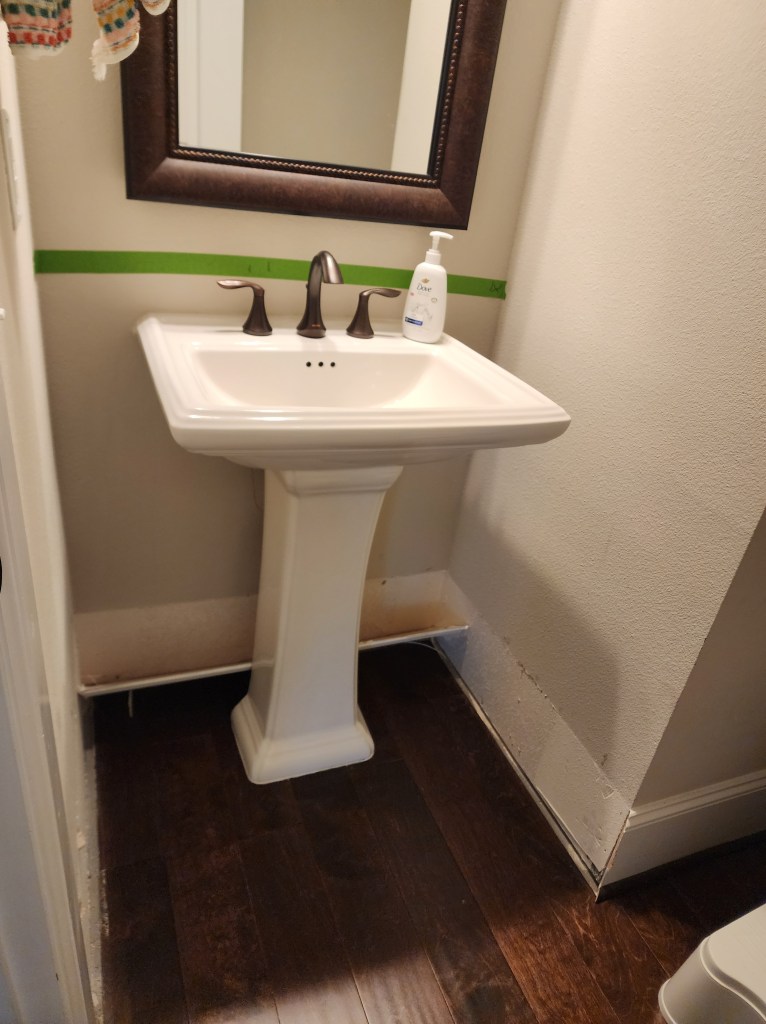
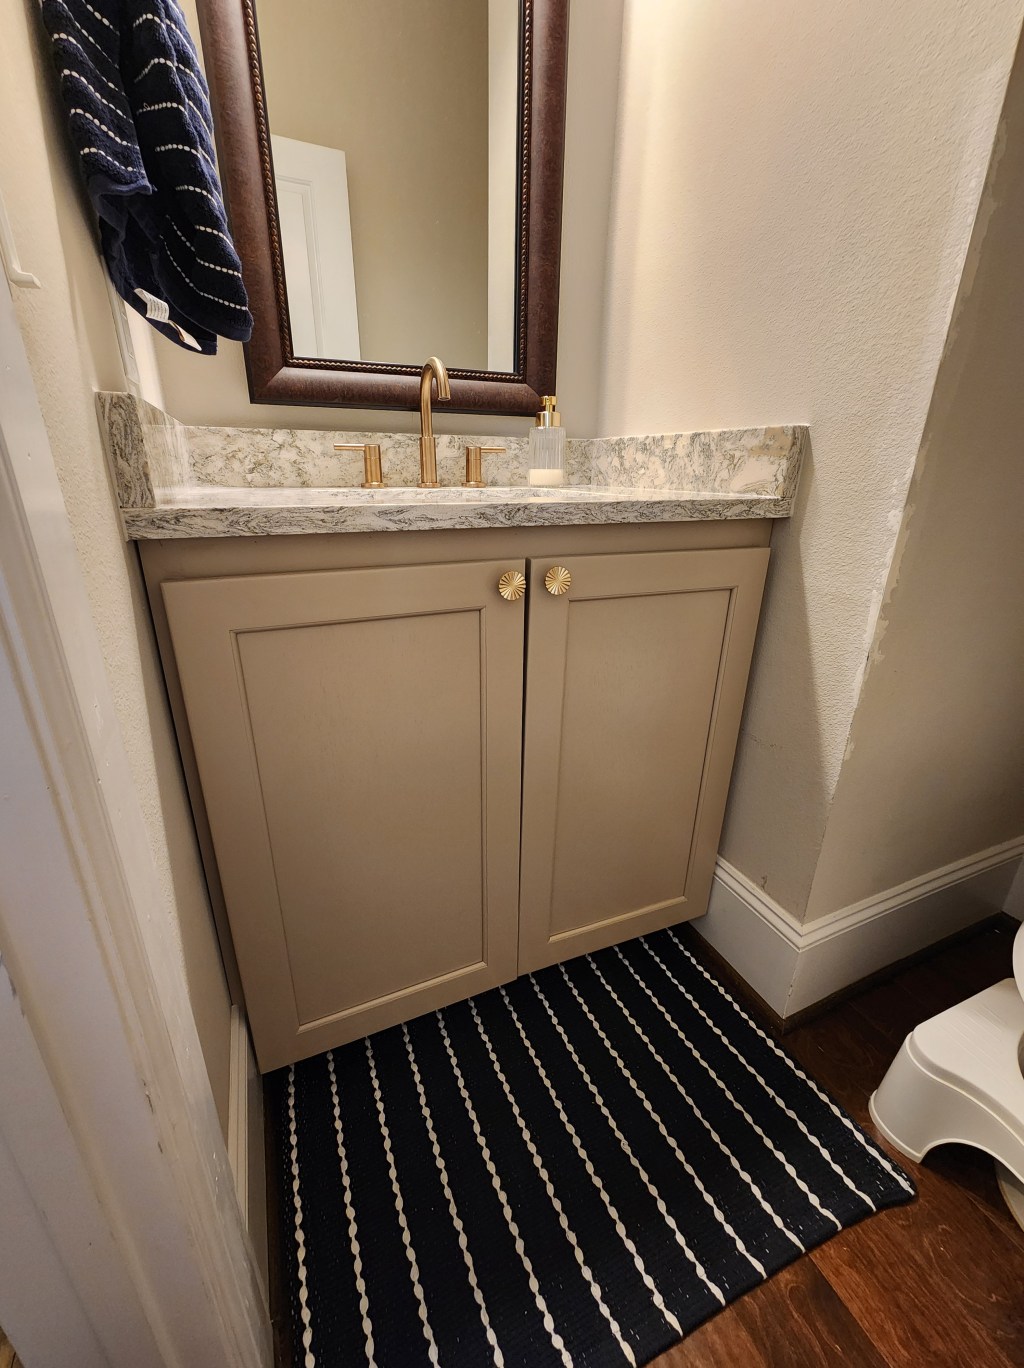
The measurements of the sink nook aren’t a standard vanity size. I wanted to purchase something pre-made, slip it in and call it a day. But where’s the fun in that? Due to the custom measurements, there were two options to get the countertop and storage that I was looking for – (1) buy a pre-built vanity and not let the gaps on either side of the counter bother me, or (2) build a custom vanity and purchase a piece of stone to have a fabricator cut on-site to ensure a snug fit. We all know which one I chose.
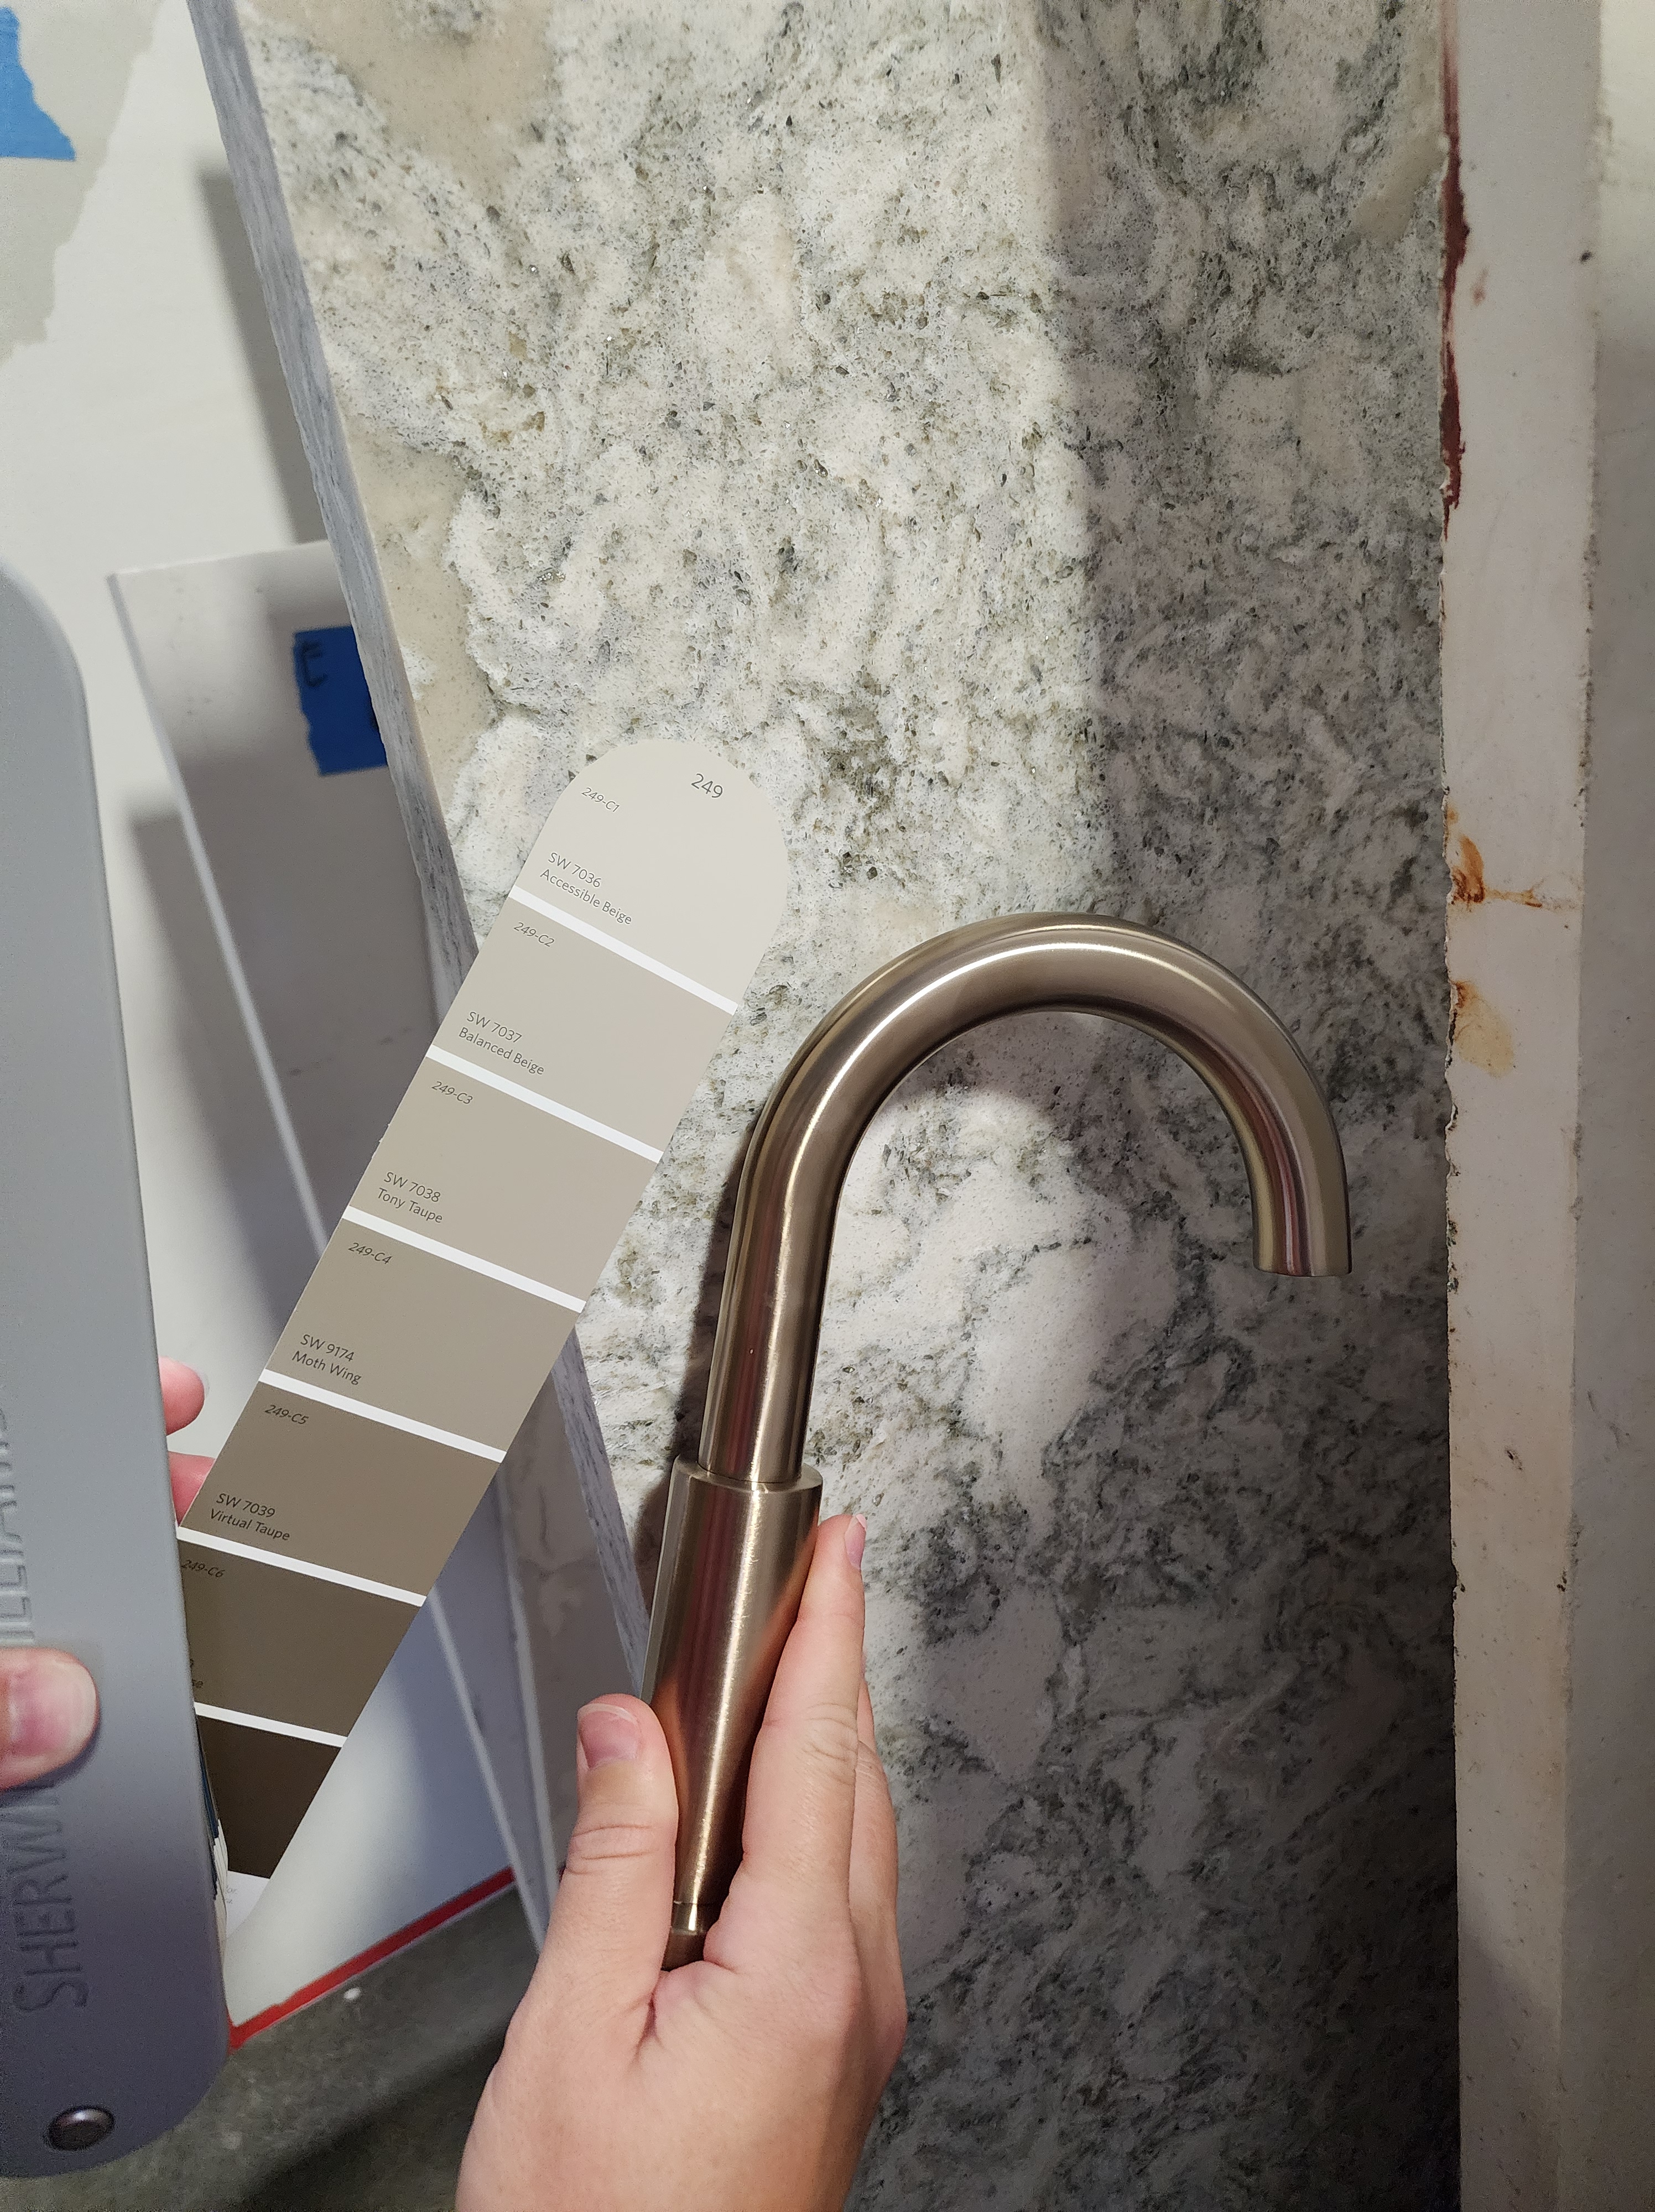
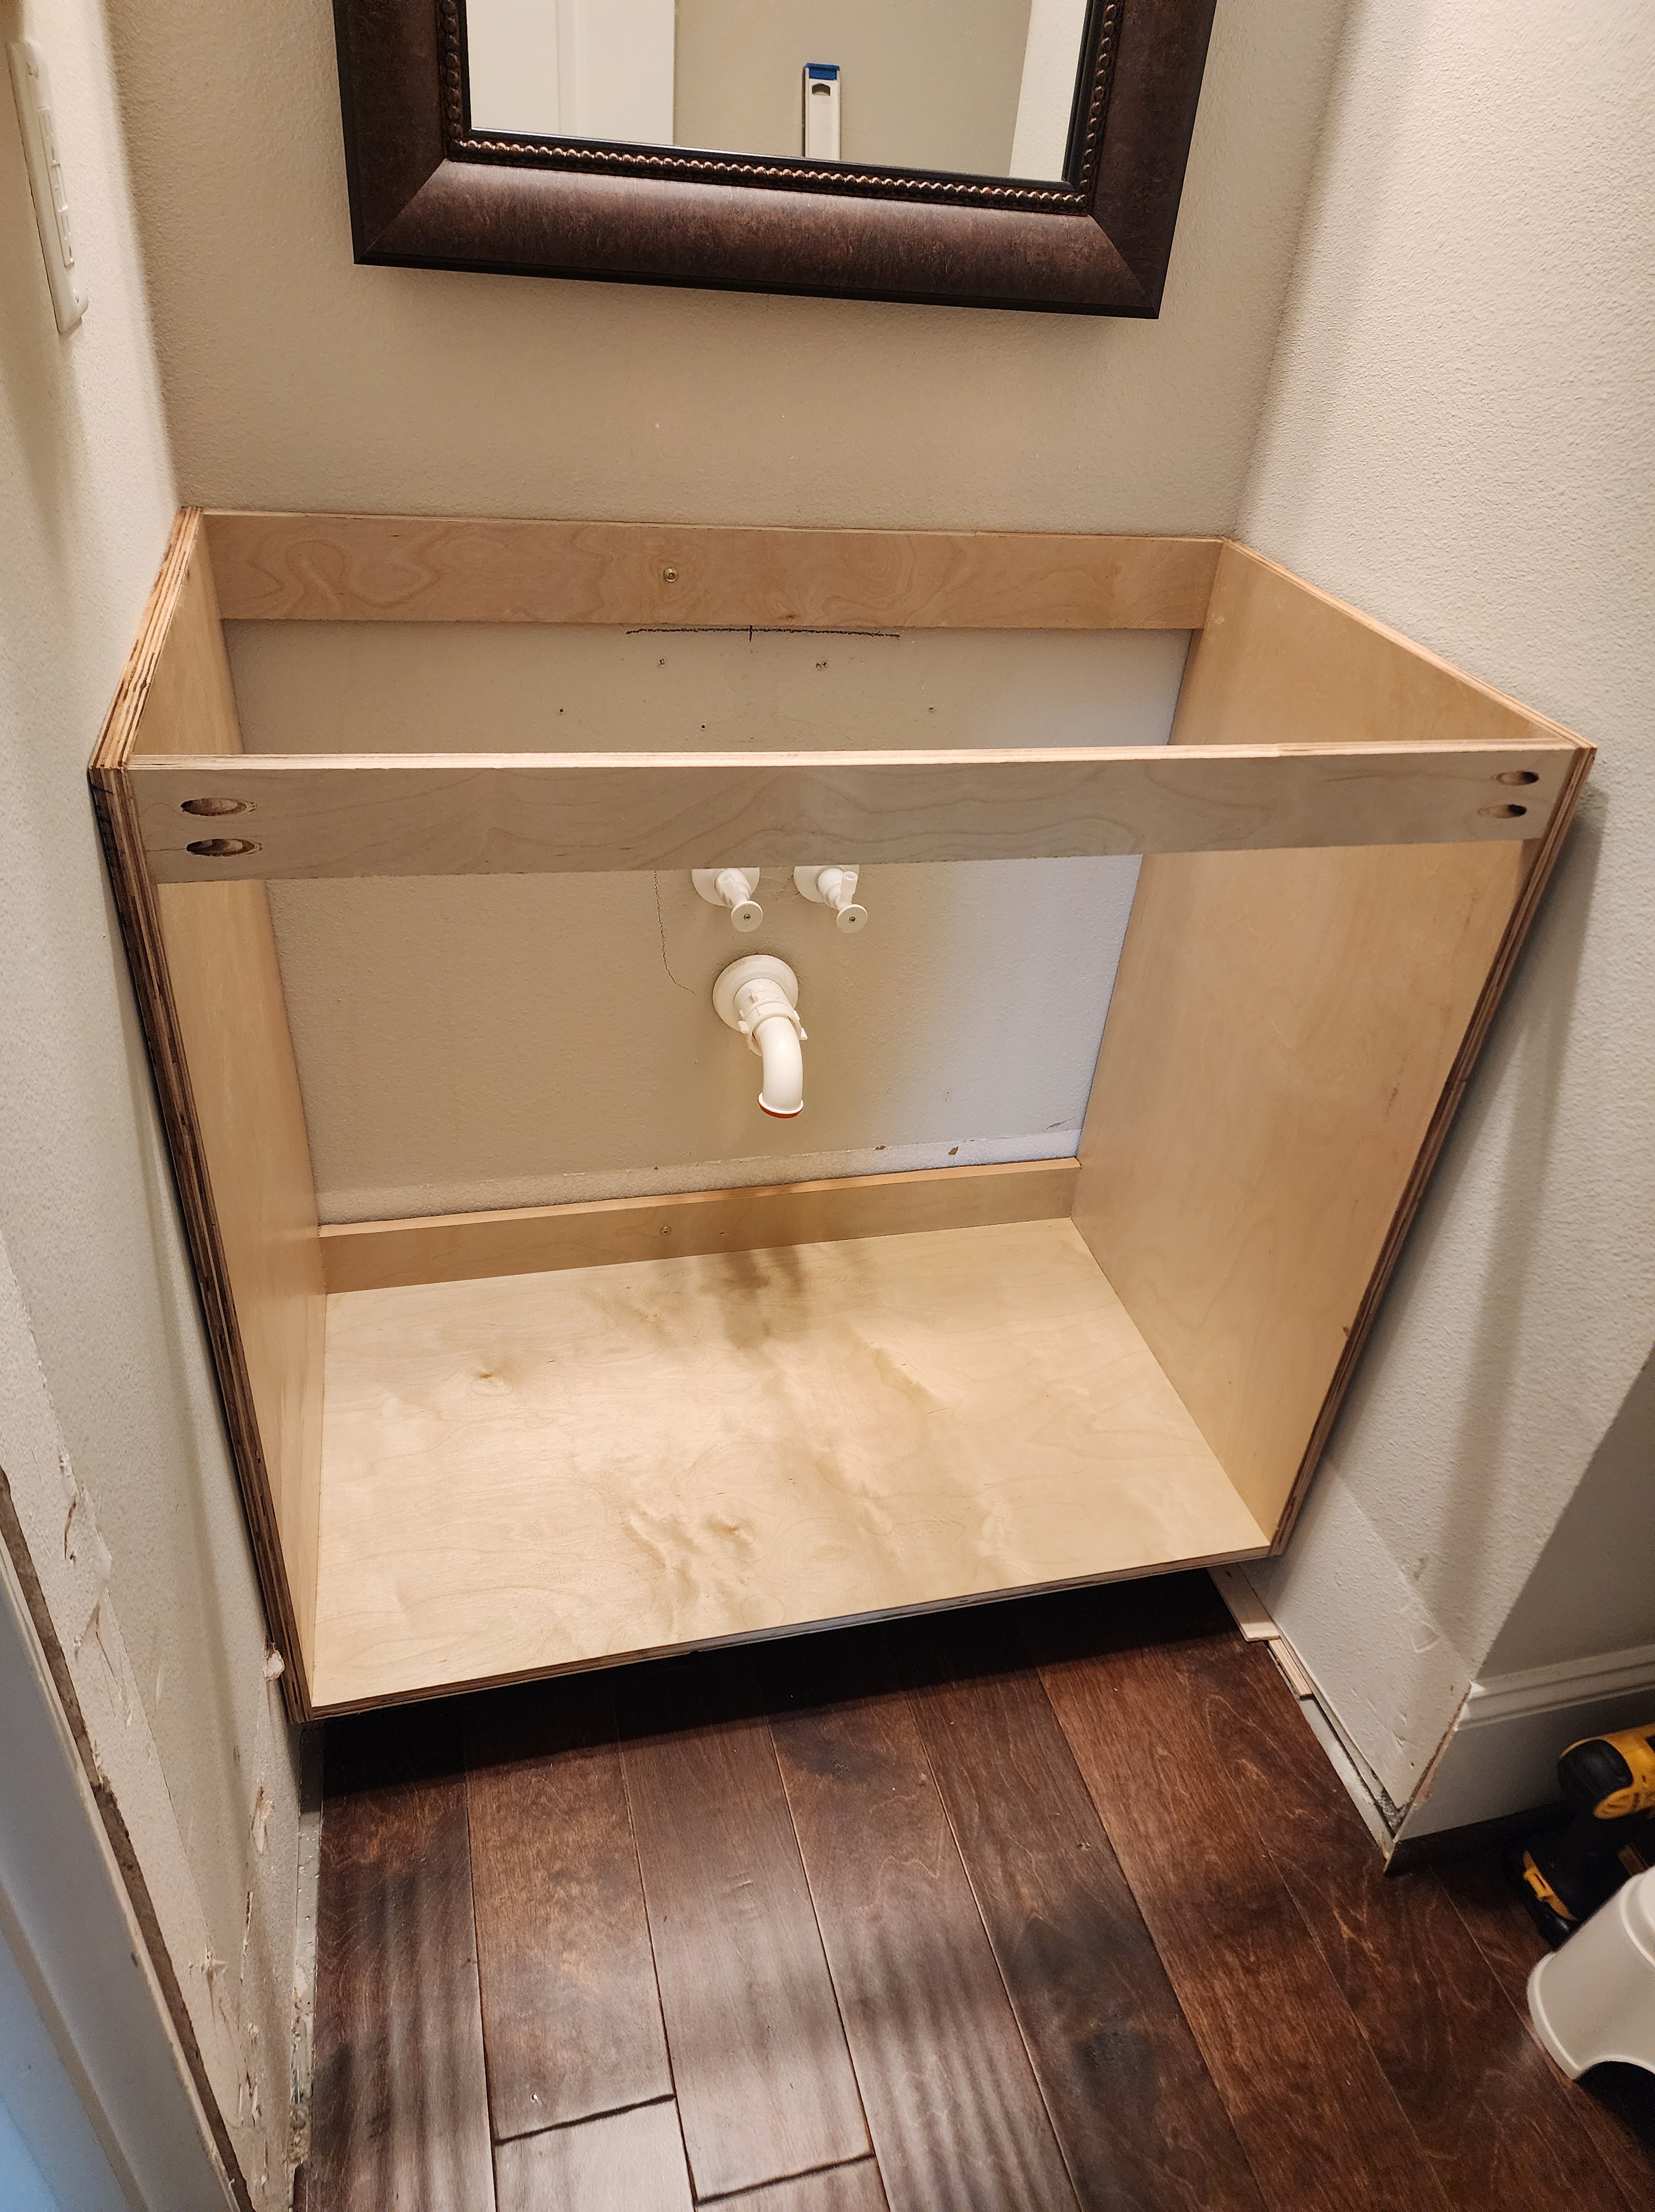

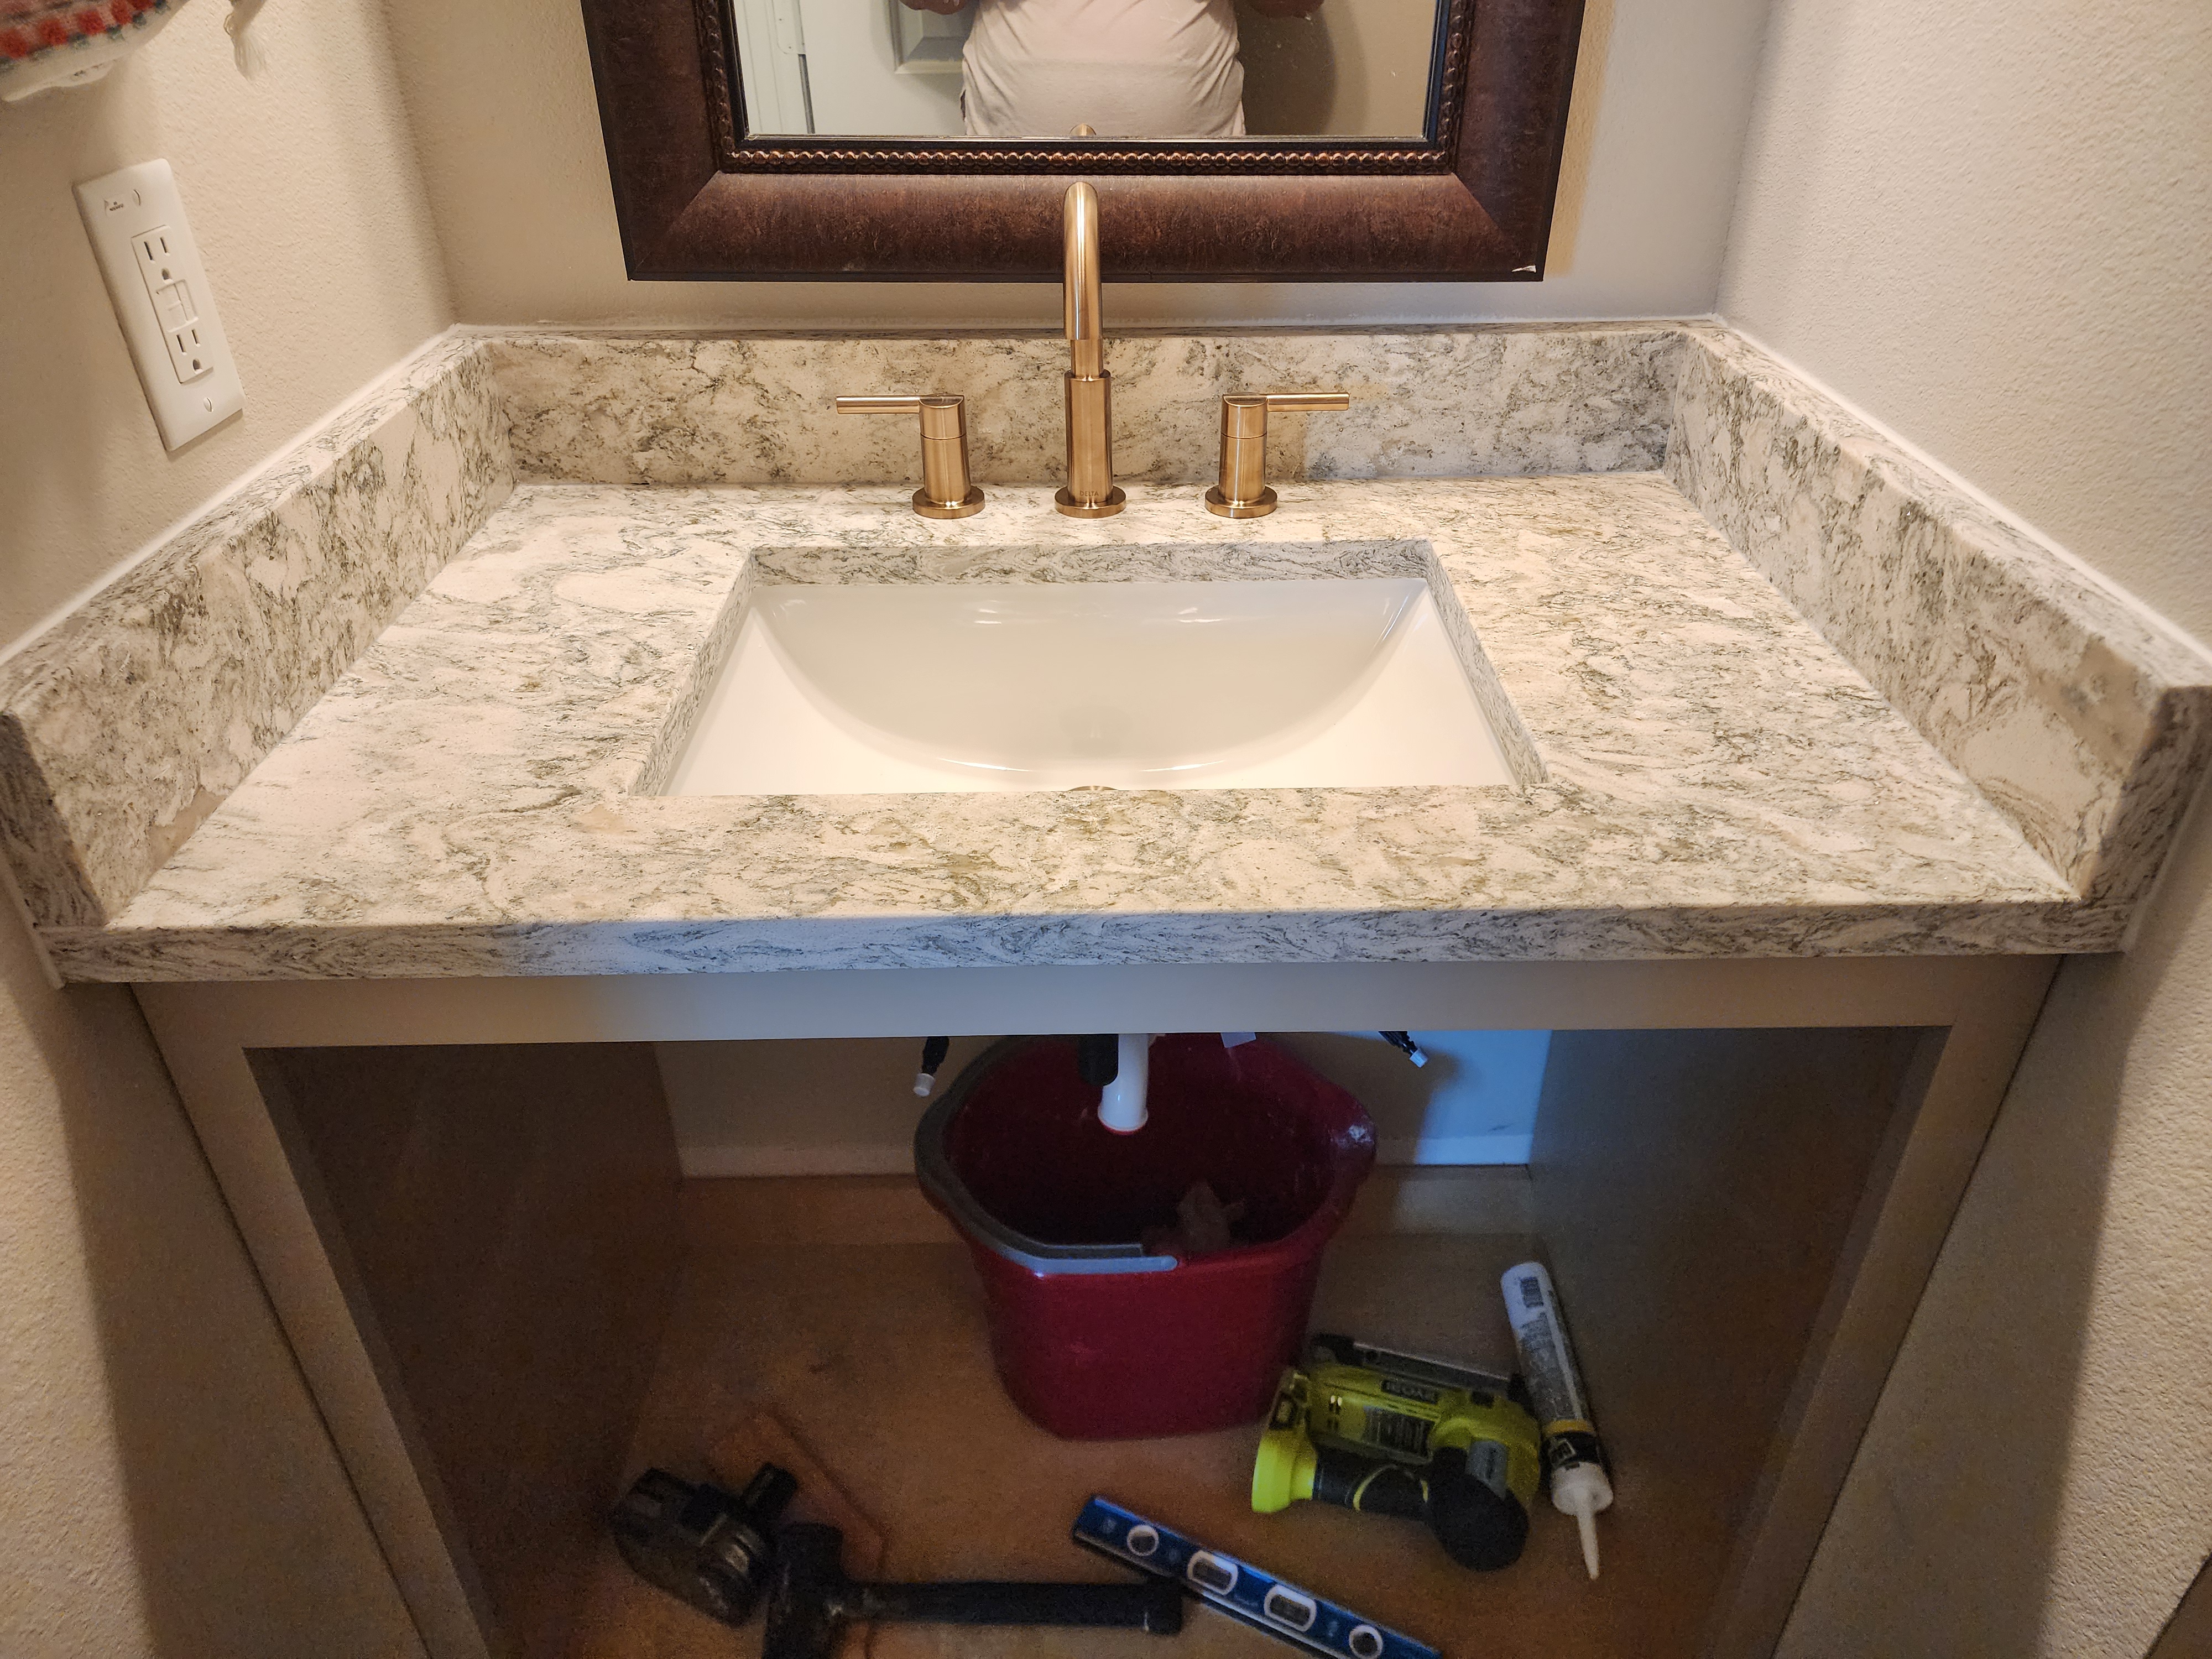
I built the cabinet box using 3/4″ plywood and pocket hole screws. The inside has a polycrylic finish in satin and the front is painted using Sherwin Williams Emerald Trim Urethane Enamel. The countertop is a quartz remnant that I purchased from a scrap yard. The sink was an add-on from the scrap yard at a lower cost than purchasing through a big box retailer. The faucet hardware is a Delta set purchased through Amazon.


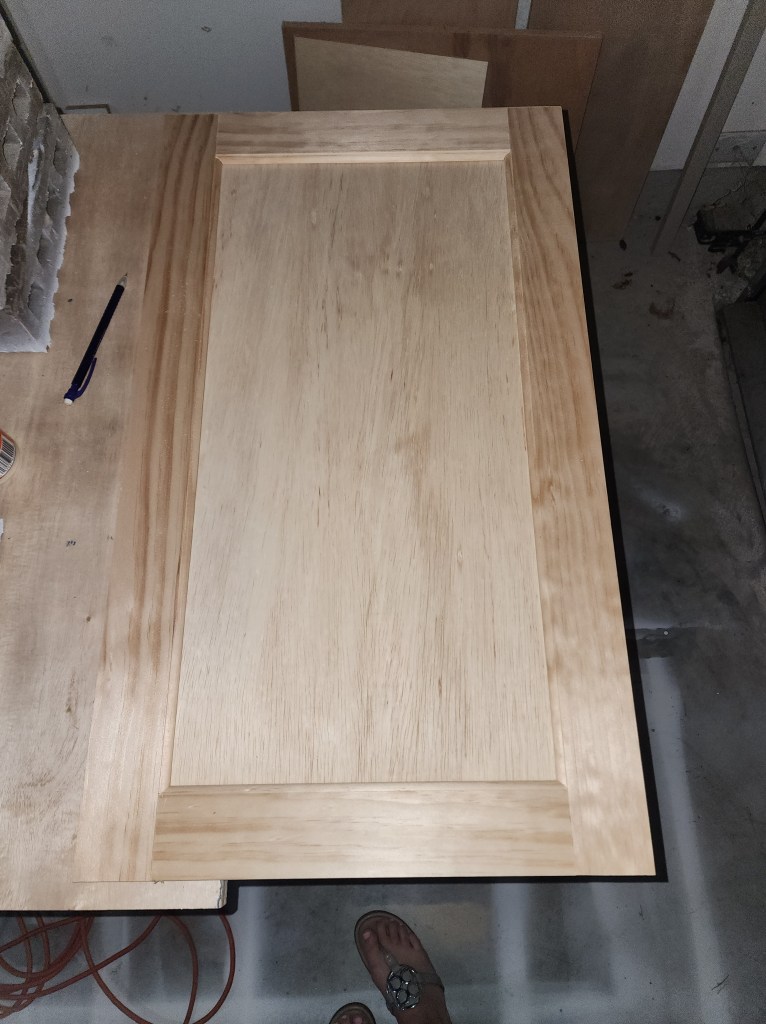
The doors are built from 1×3 select pine and 1/4″ plywood. The rails and stiles are routed using a two-piece router bit set from Rockler that made them fit together like a dream. I am beyond proud of how they turned out. This was the first set of doors that I’ve made this way and will never make them differently. The only thing that might change would be the material – i.e. switching to MDF or poplar, depending on the space and budget. Everything fit snugly and has beautiful detailing!

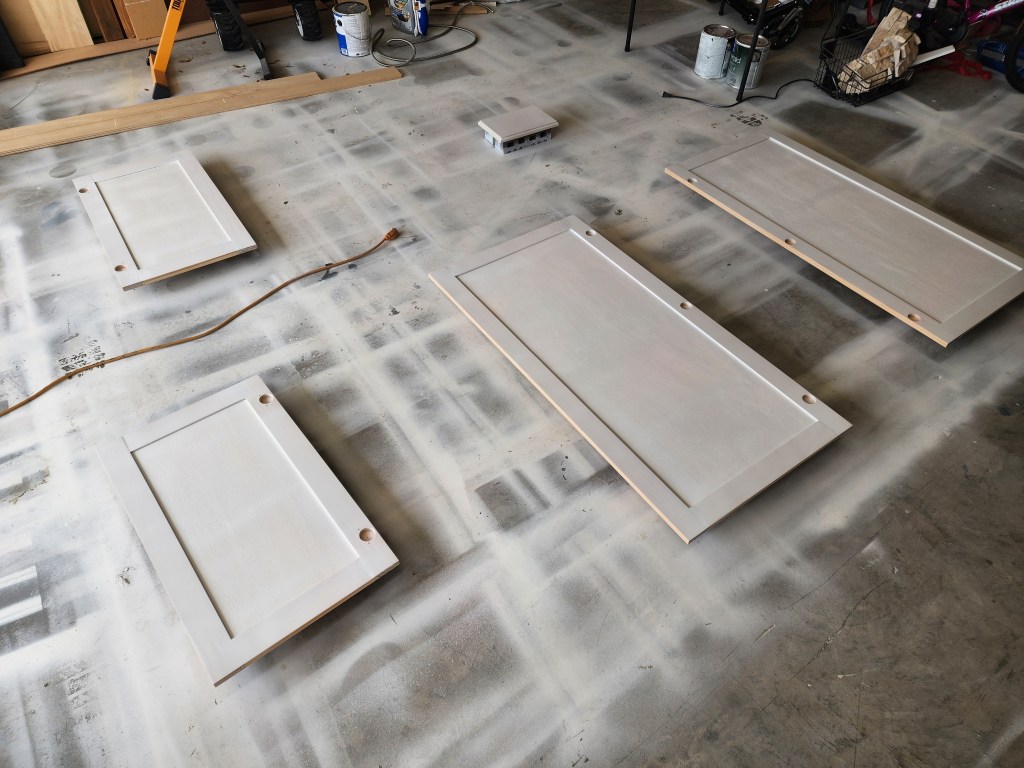
The doors for the vanity were built at the same time as the doors for our primary closet, so I primed them at the same time. The two spaces were painted different colors, so had to spray the color separately, but I like to get as much painted as possible when pulling out the sprayer.
To get the smoothest finish possible, follow these steps:
- After assembly, sand everything smooth, focusing on joints. Close your eyes and run your fingers over it, if you can feel the joints then they will be visible after painting.
- Wipe all the sanding dust off, preferably with a tack cloth. I use the leaf blower to remove the majority of dust and then finish using a tack cloth.
- Fill any holes, cracks, or imperfections with Bondo.
- Sand the filled areas smooth using 220 grit or higher and wipe down with a tack cloth.
- Prime the raw wood.
- Sand smooth using 220 grit sandpaper and wipe down with a tack cloth.
- Paint with an enamel paint (my personal favorite is the Sherwin Williams Emerald Urethane Trim Enamel).
- Sand smooth using 220 grit sandpaper and wipe down with a tack cloth.
- Paint with an enamel paint, do not sand it this time.
- Let it dry for at least 24 hours before installing, preferably several days to allow the paint to fully cure.
To be completely transparent, doing the vanity this way was more expensive than purchasing a pre-fab vanity from a big box store. But the way I see it, I would rather spend the extra money to get exactly what I want vs putting on a band-aid and circling back to it in a few years. In essence, I’m saving money, right? Girl math at its finest.
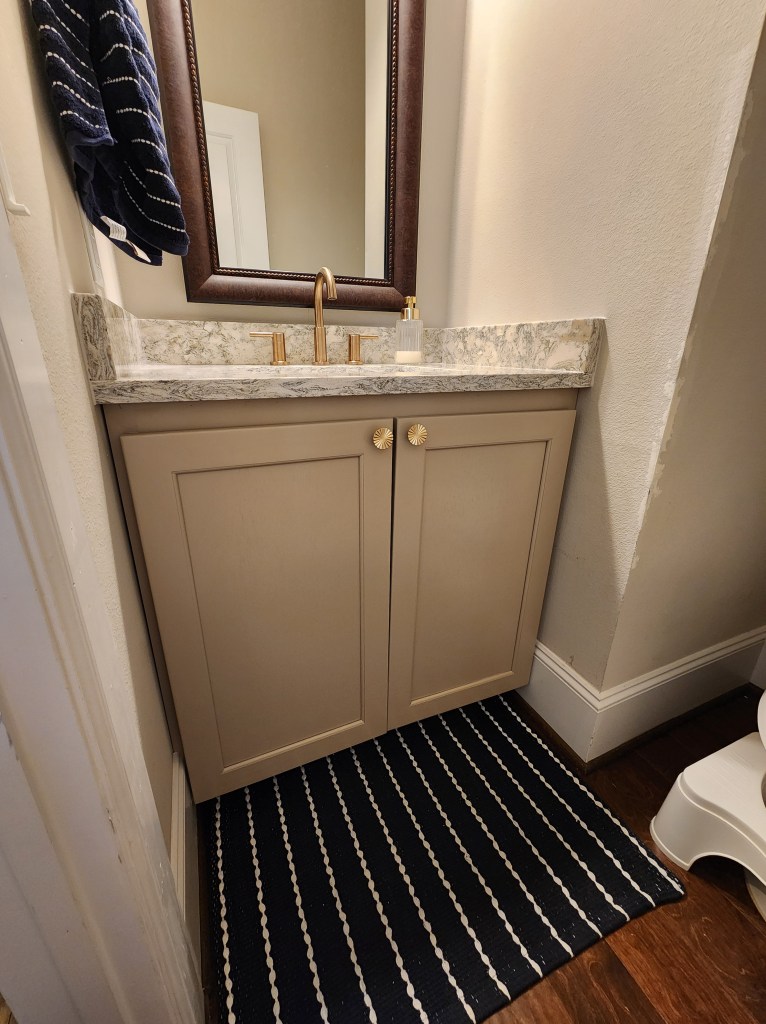
I am absolutely smitten with how it turned out and over the moon with the amount of storage and functional space that was added!! I love the whimsical door knobs and the sparkles in the quartz!
Normally, this is where I would add a list of all the things I plan to change about this DIY in the future. Honestly, there’s not much I would change here. I am really proud of how it turned out, so I’ll list the few things that need another touch:
- Touch up the wall paint on the corner where I banged up the sheetrock during installation.
- Caulk where the vanity meets the walls.
- Add filler to the door inserts and another coat of paint (the jury’s out on if that’s a priority).
- Adjust the door hinges.
Phase 2 will include the following:
- New mirror
- New towel hook
- Paint or wallpaper (or both – let’s get wild)
- Shelves above the toilet
- New lighting
What I learned from this project:
- Give more wall clearance when building in a nook. I built the outer dimensions almost exactly the width of the nook and ended up removing the door casing to slide it into place. It was a tight fit!
- Be choosy about which tools to invest in vs. the budget-friendly. I really did not want to purchase a new router, but the decorative router bits for building cabinet doors really requires a router with a 1/2″ chuck vs a 1/4″ chuck. I am extremely pleased with my Bosch router and table and so glad I splurged a bit on it. The router, router table, and matching bits have really elevated my projects.
