Y’all, I messed up really bad. I read the ingredients label on some of my go-to items from the grocery store and I can’t unsee it. Most of the ingredients are fine, but when I start seeing words that I don’t recognize and then the last item warns that it contains a bioengineered food ingredient, I get a little grossed out. I’m not on the sourdough train (yet), but making homemade sandwich bread is easier than I anticipated, and it tastes so much better than anything you could buy from the store. Then there’s the added benefit of your house smelling like fresh bread. Not everything that I give my family is homemade, but I certainly feel good knowing exactly what is in their bread, and my kids eat a lot of it!
This recipe makes 1 loaf, which is perfect for my family and it’s eaten by the time it starts to go stale (3-4 days).

Equipment:
- Stand Mixer fitted with dough hook attachment
- Standard size loaf pan (9″ x 5″)
- Bread knife
Ingredients:
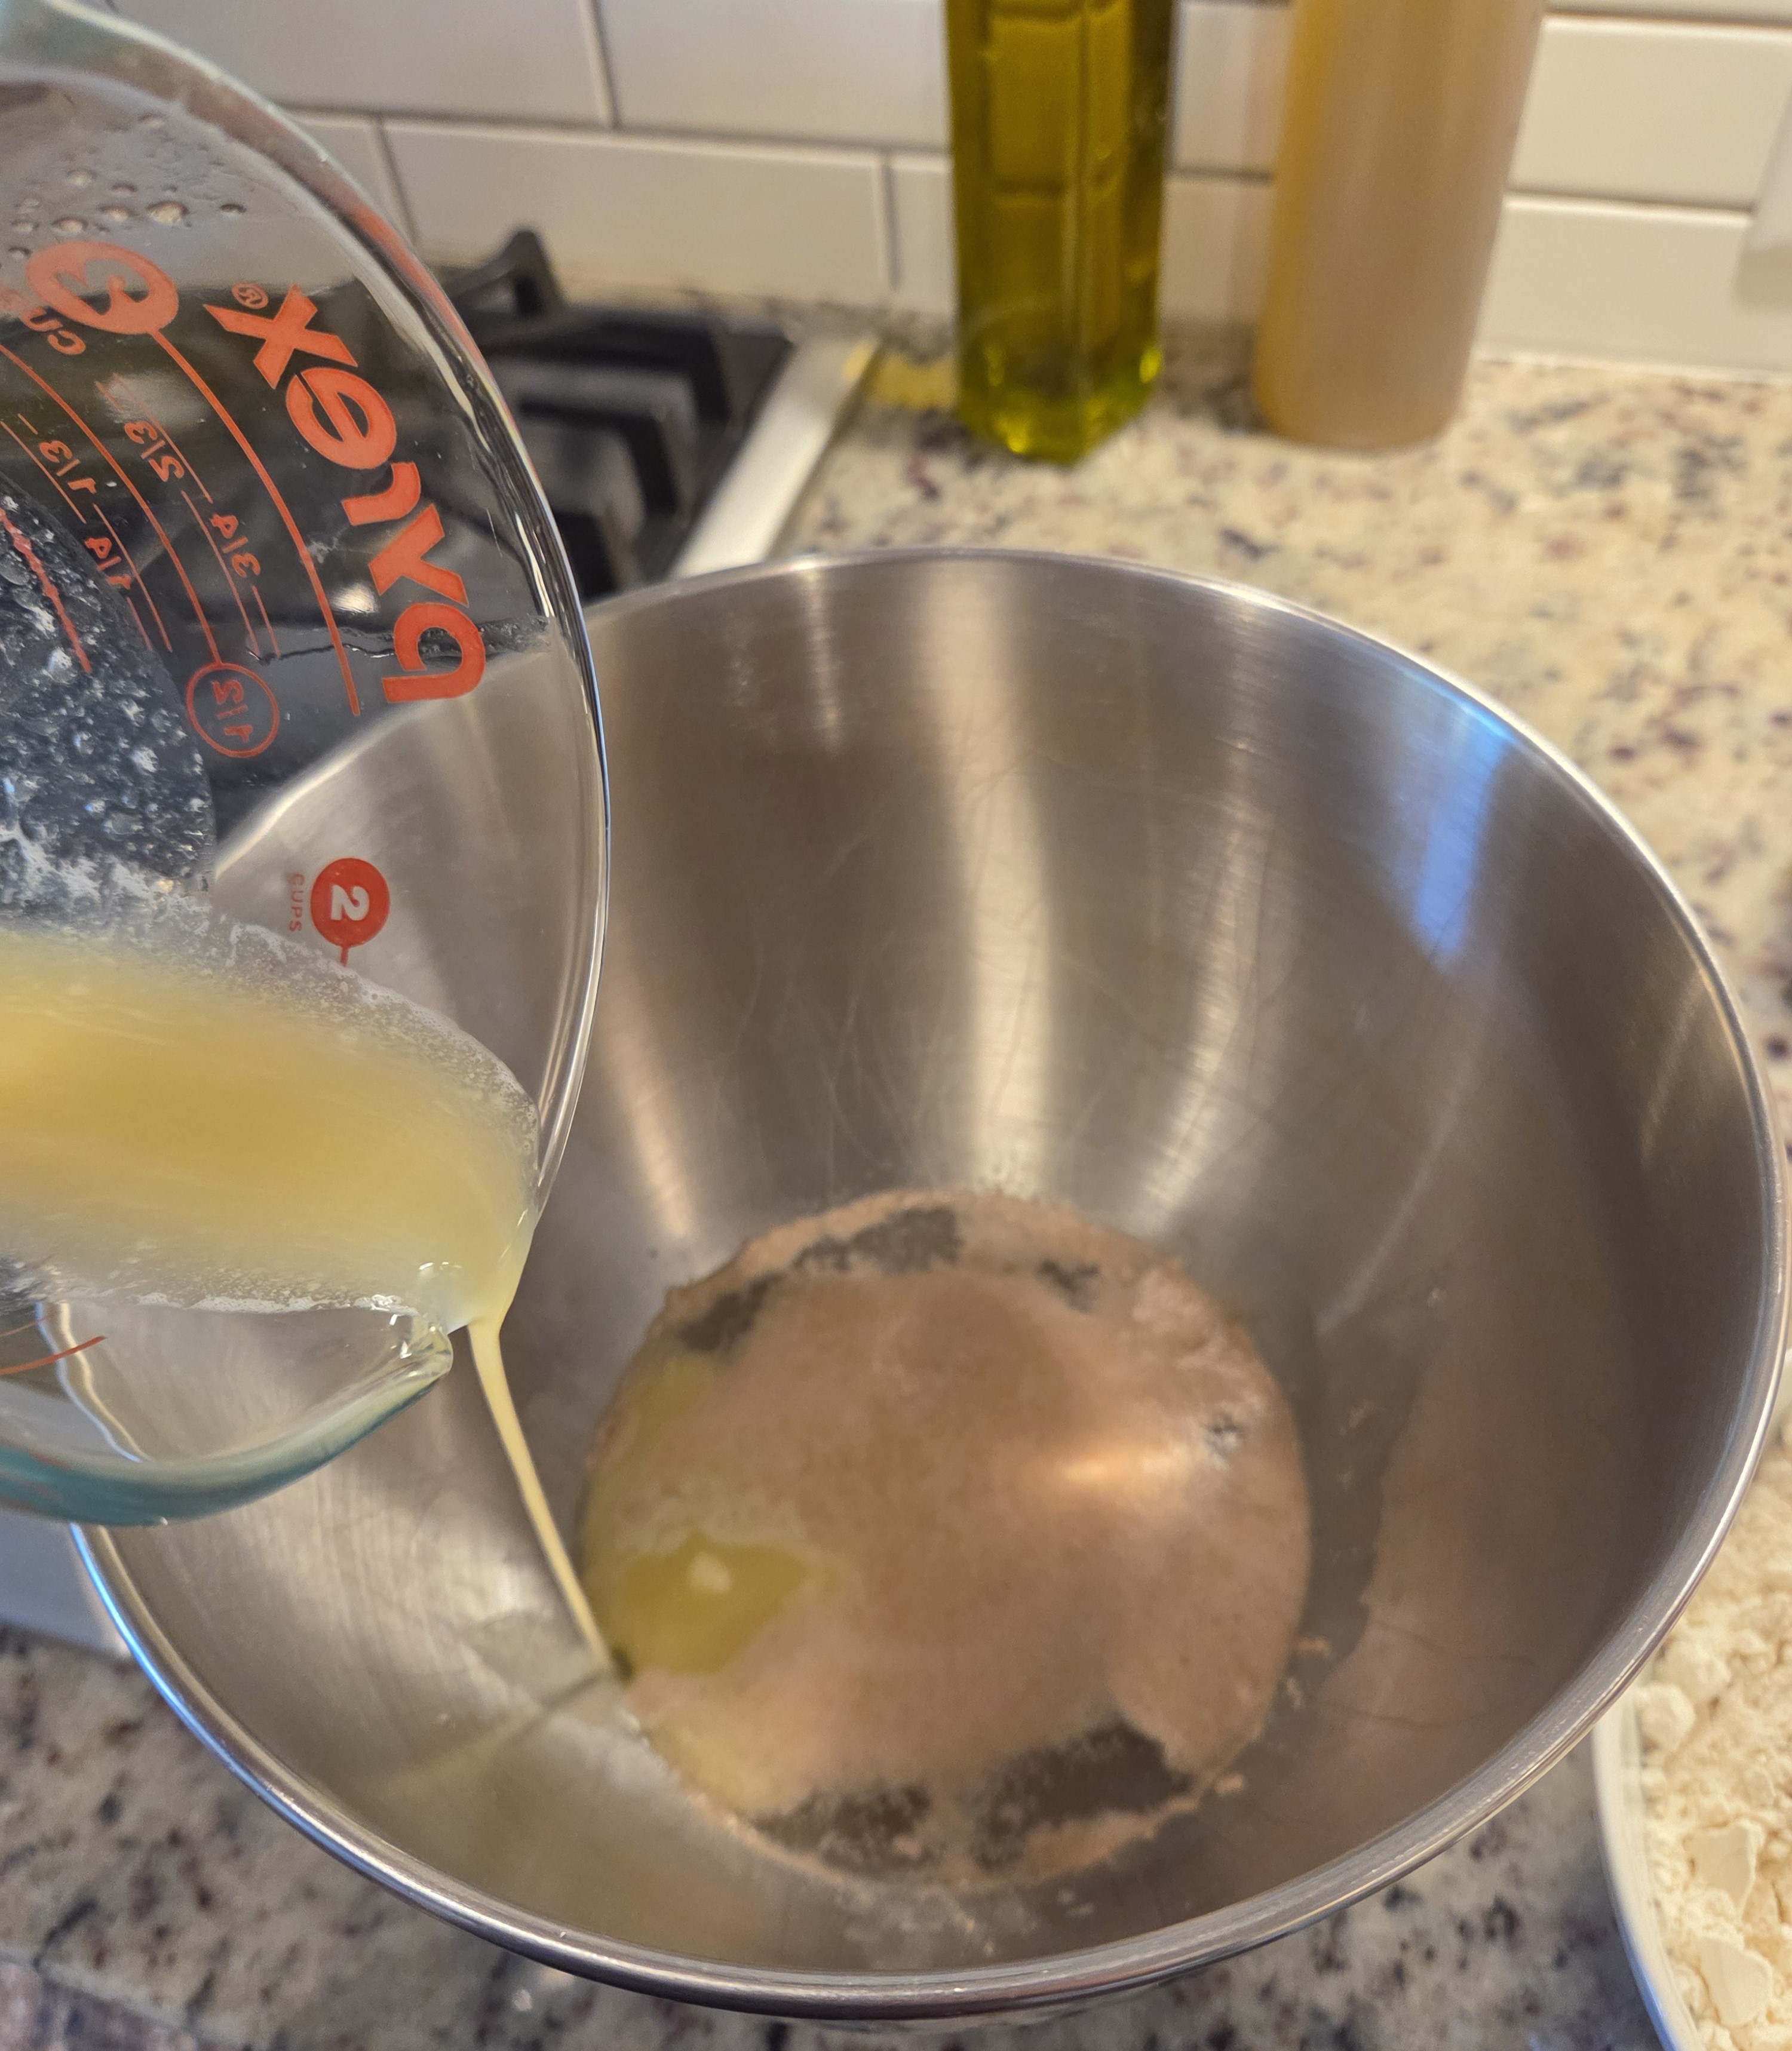
- 1 cup warm water (~90°F)
- 1/4 cup granulated sugar
- 2-1/4 teaspoon active dry yeast
- 3 tablespoons unsalted butter, melted
- 1-1/2 teaspoons Kosher salt
- 3 cups bread flour (can use All Purpose flour but my opinion is that it gives a nicer texture and taste using bread flour – I use King Arthur Bread Flour)
- Oil for bowl and pan (I use olive oil and avocado oil but any type of cooking oil will work)
Instructions:
- Using the bowl of a stand mixer, stir to dissolve the sugar into the warm water.
- Once the sugar is mostly dissolved, sprinkle the yeast on top of the water. Allow the yeast to fully bloom, around 12 minutes. *If the all of the yeast does not bloom/activate, try gently pushing the yeast into the water and wait a few more minutes.
- Pour the melted butter into the yeast mixture.
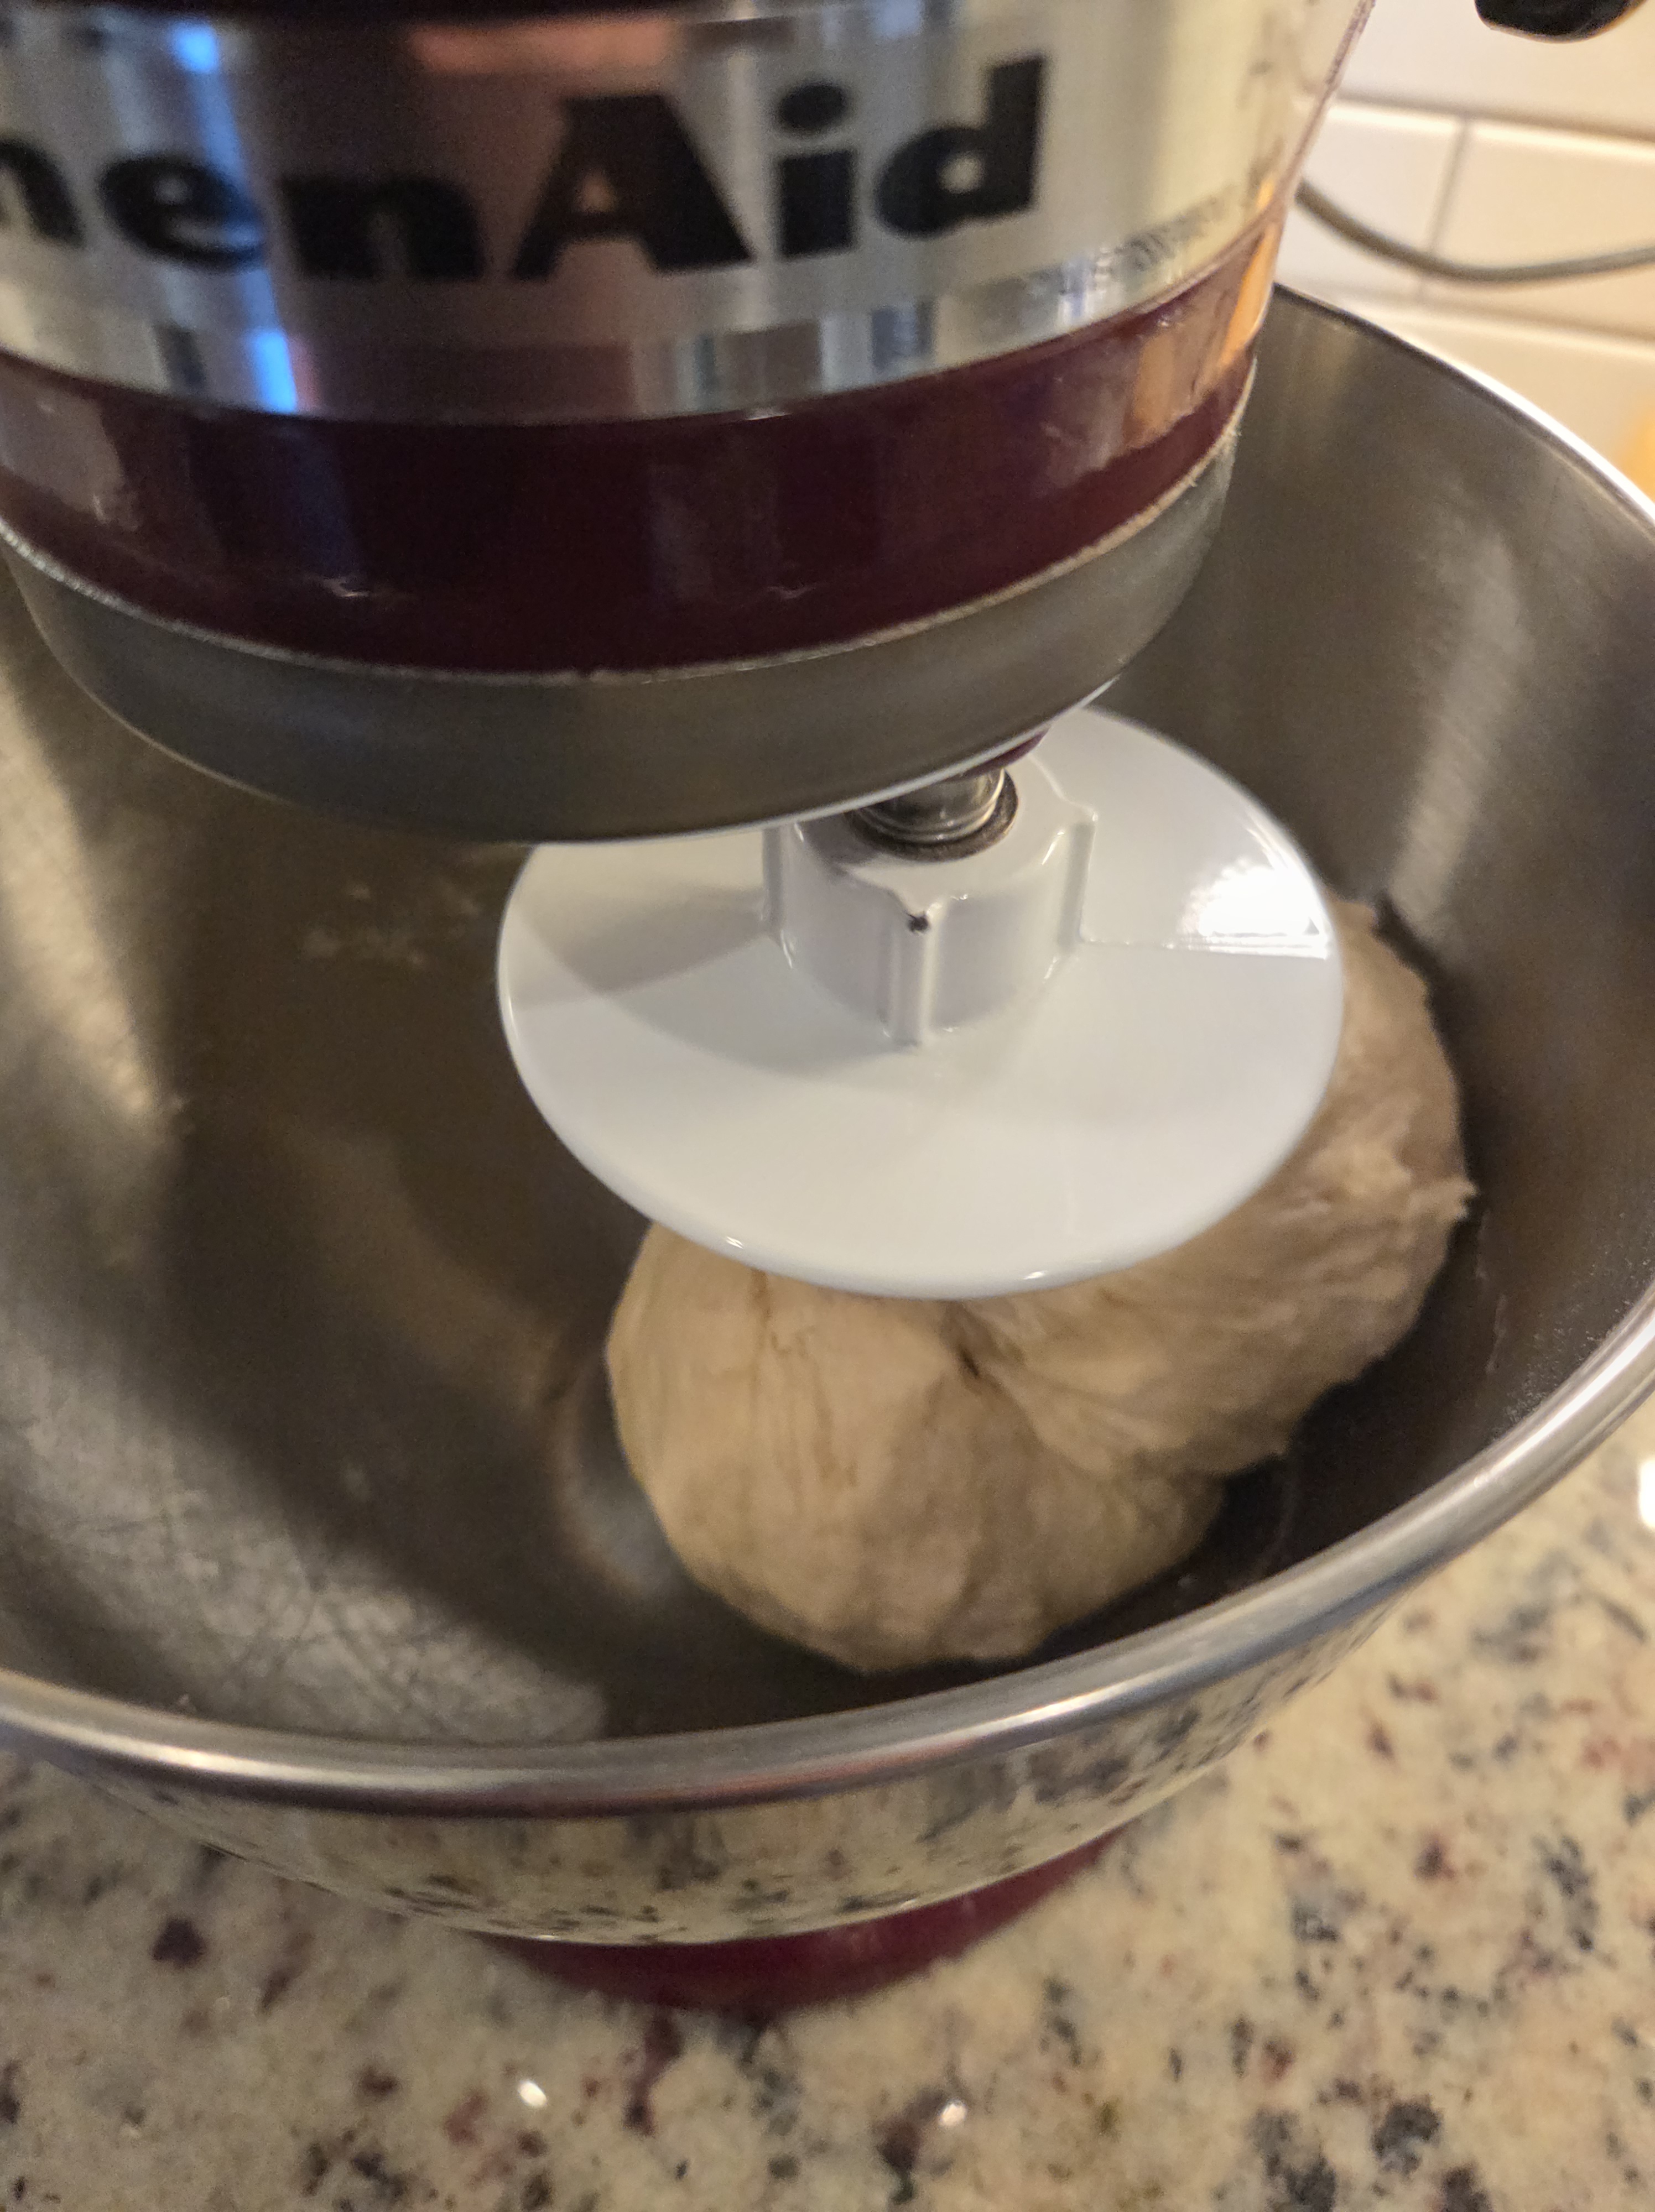
- Combine the bread flour and salt and then pour about half of the dry ingredients into the wet ingredients. Turn the mixer on and combine on low speed.
- Once the mixture is about halfway incorporated, add in the rest of the dry ingredients. Knead on low speed for 3-4 minutes.
- The dough will come together and make a sticky ball. Wet your hands with water or oil to prevent sticking when working with the dough. Remove the dough from the bowl and then add some oil back into the bowl to prevent sticking.
- Form the dough into a ball and place back in the mixer bowl. Cover with plastic wrap and place a kitchen towel over the plastic wrap. Set aside to rise for about an hour, or until the ball is close to double in size.
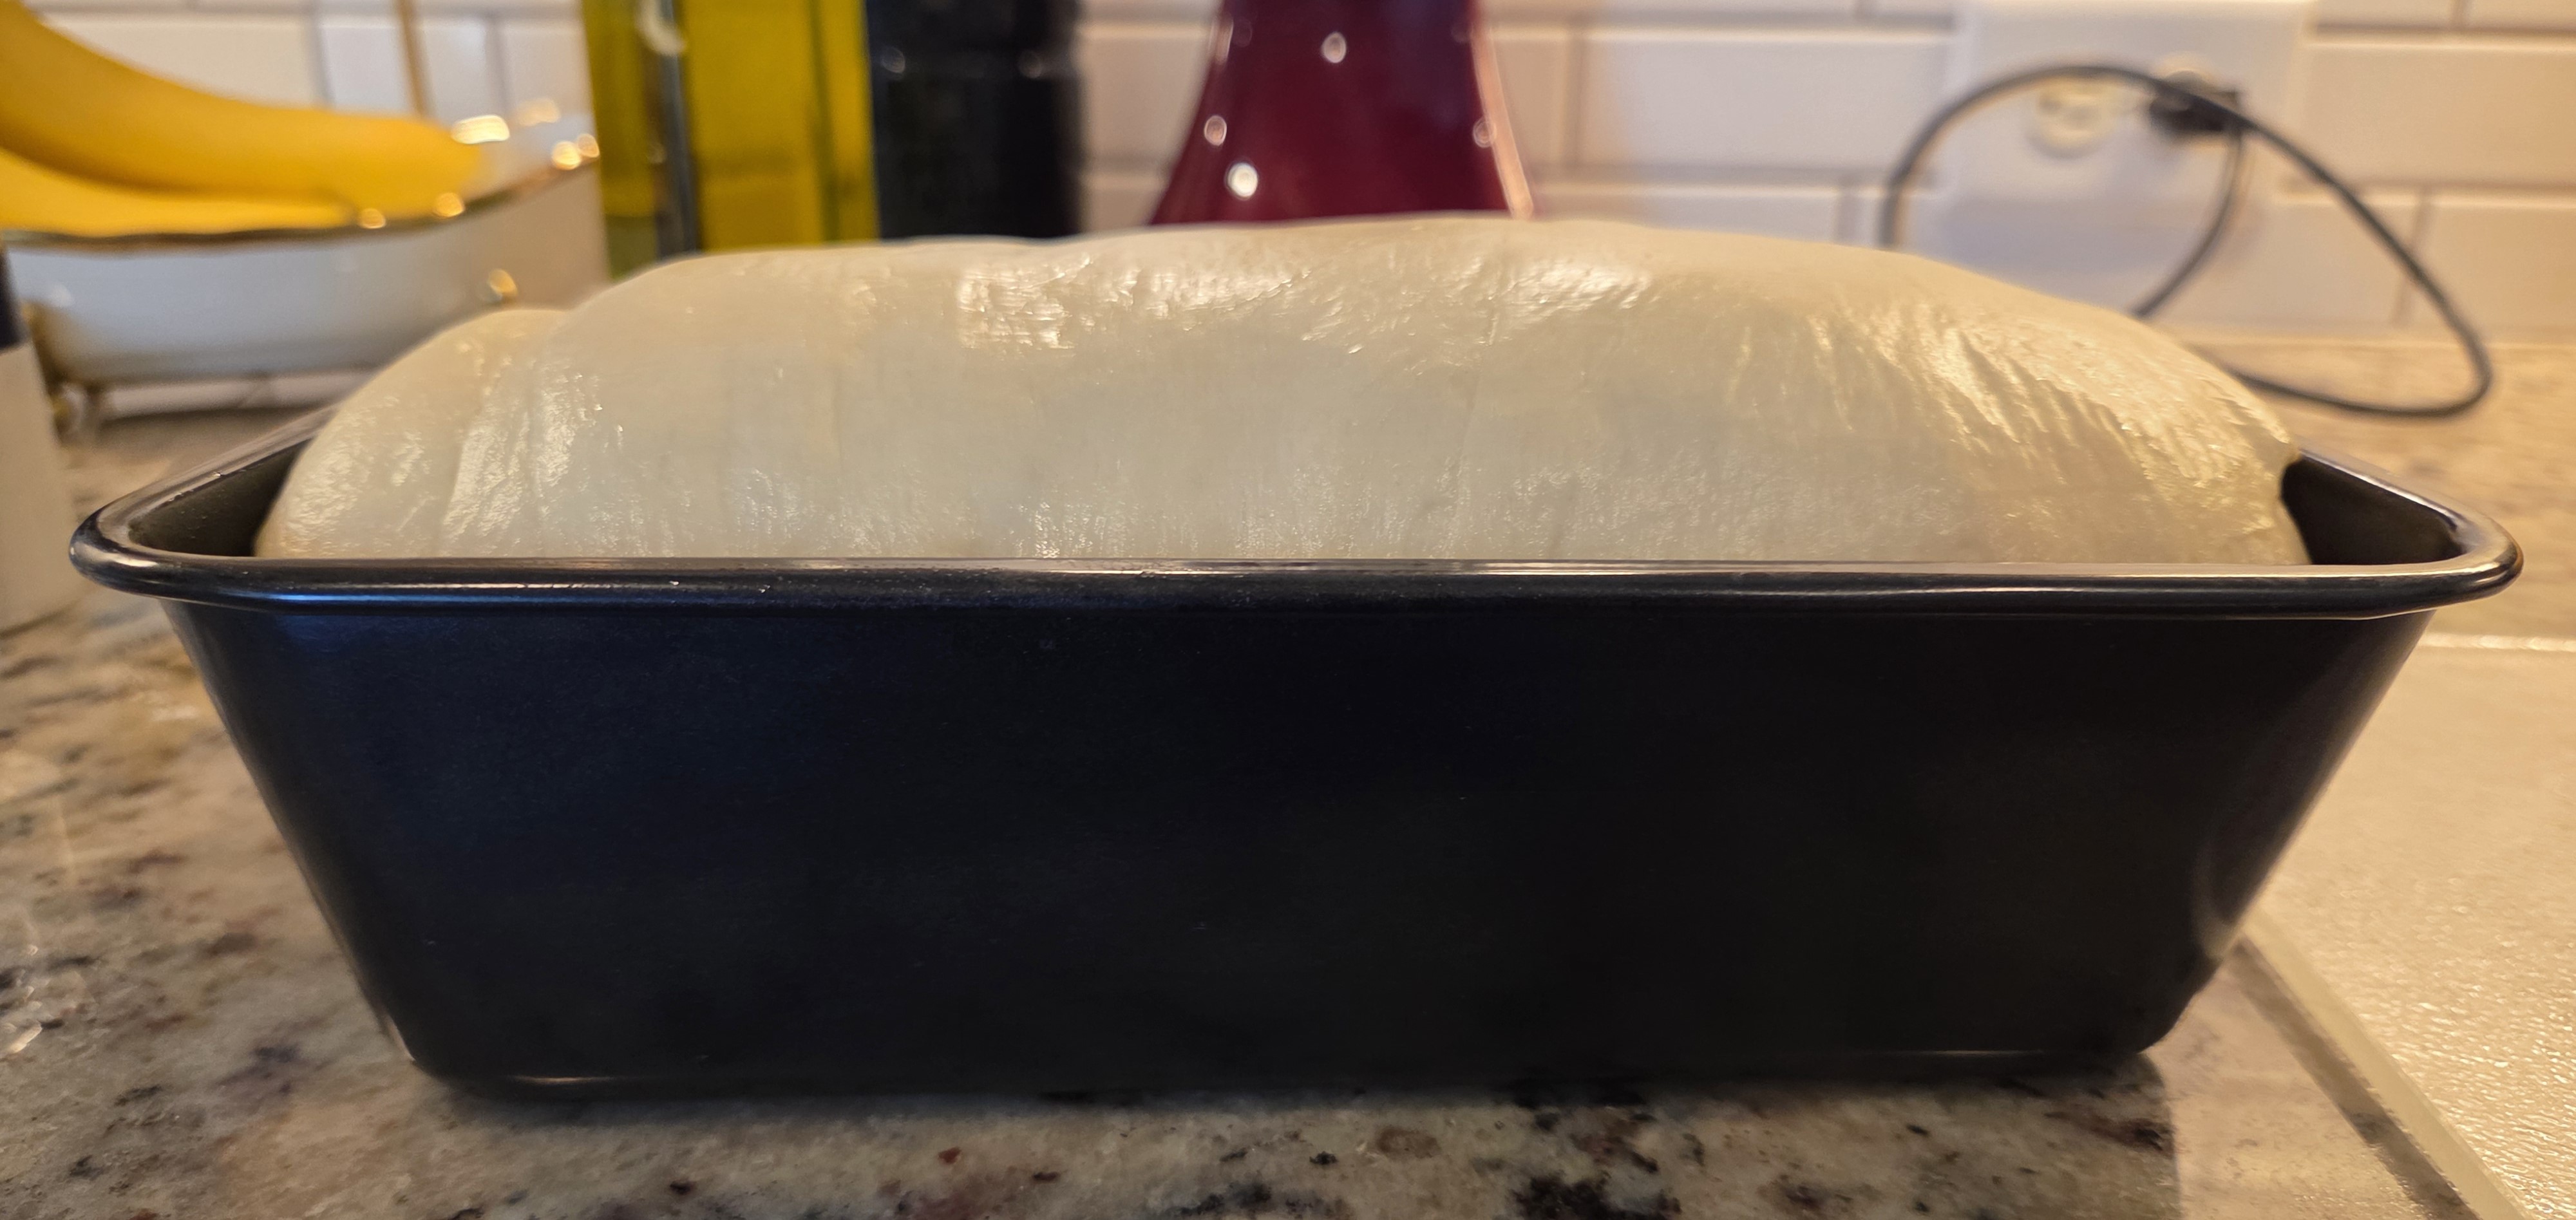
- Use a small amount of oil to coat the loaf pan. Remove the dough ball from the bowl and knead with hands for a few minutes to smooth it out. Roll into a 9″ wide rectangle and then roll it up to make a 9″ long log. Place seam down in the loaf pan and use the same plastic from the bowl to cover the pan. *If the dough is sticking to your hands, use water or oil to prevent sticking. Do not use extra flour as it will dry out the bread. If the dough doesn’t look smooth, dip your fingertips in warm water and massage the dough to smooth it out.
- Allow the dough to rise again for about an hour. *If the dough does not double in size or puff up the second time around, do not worry. It will puff right up in the oven!
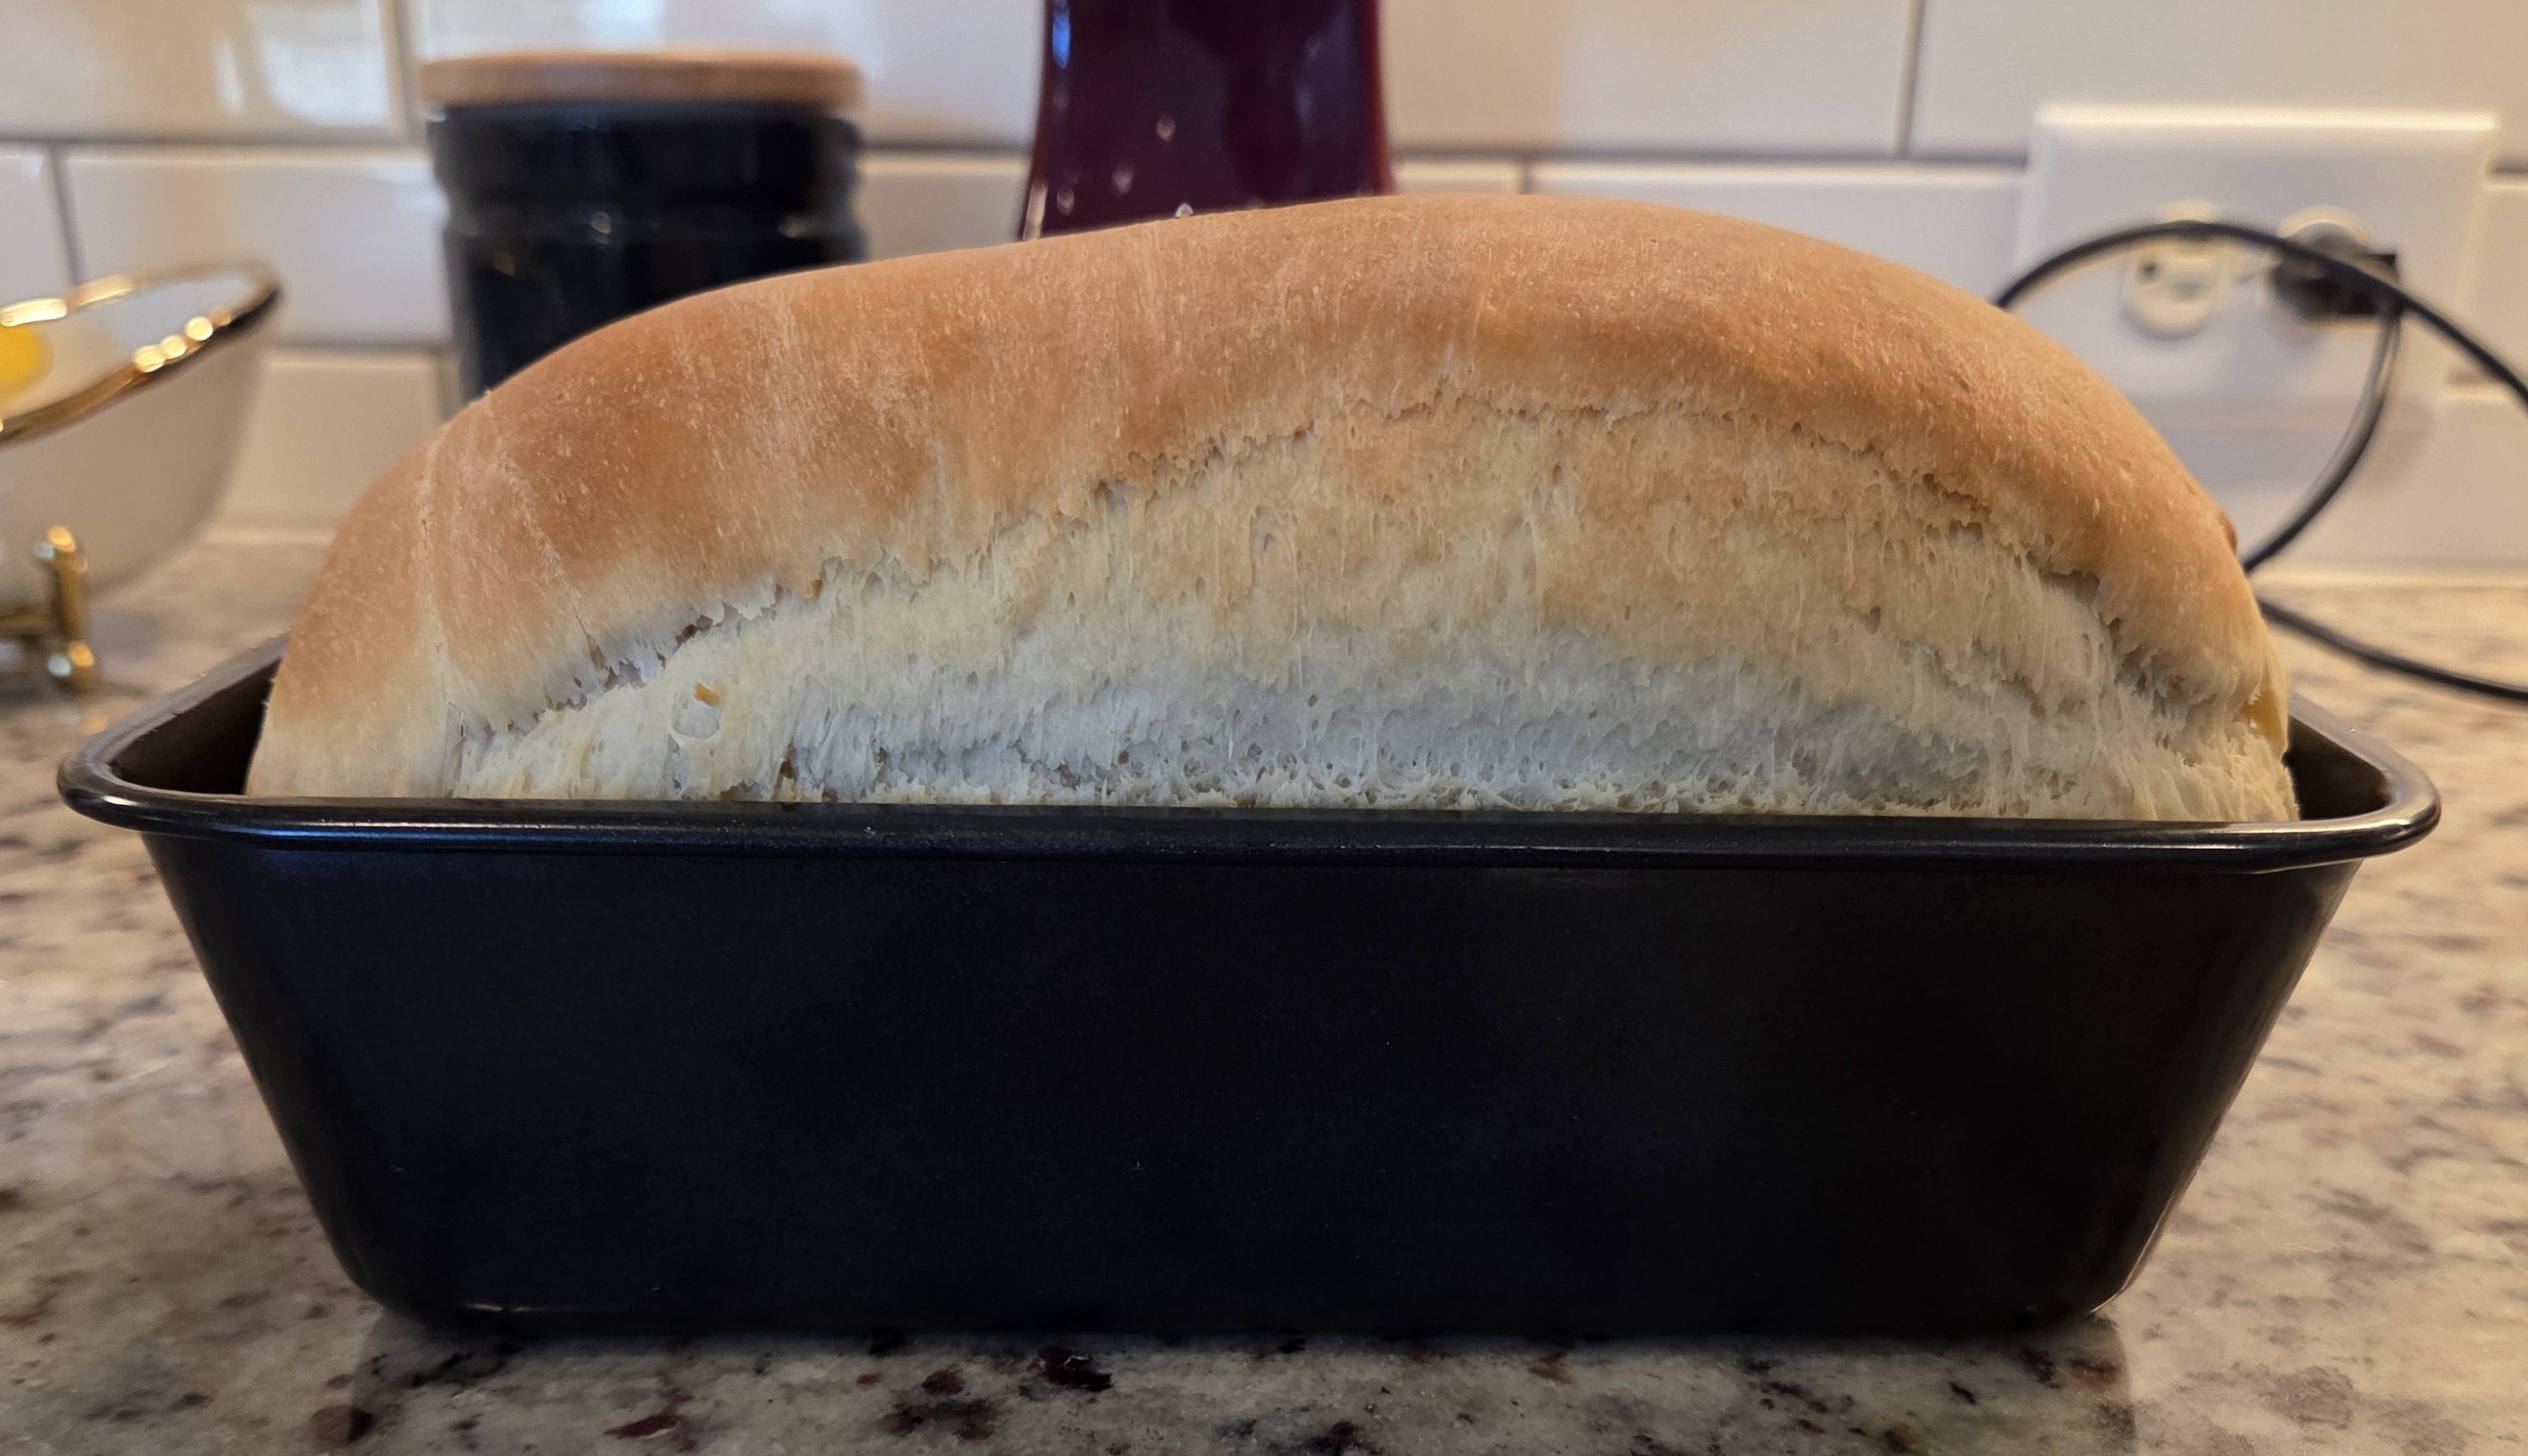
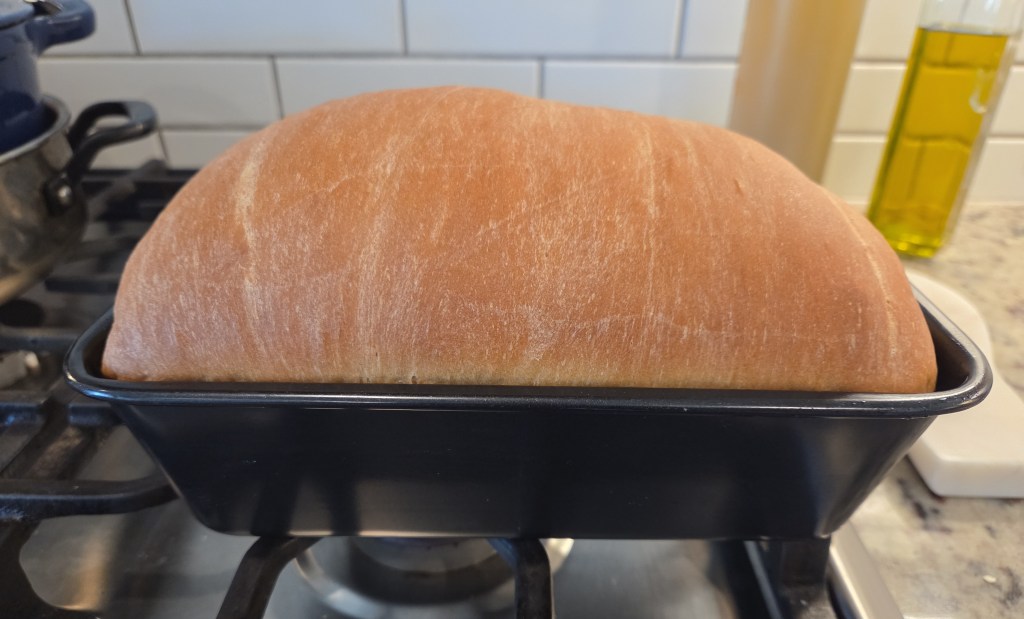
- Preheat oven to 375°F. Place loaf in the center of the oven and bake for approximately 30 minutes or until golden brown.
- As tempting as it may be to cut right into the fresh loaf of bread – don’t do it! Allow the bread to cool for about 30 minutes and then remove it from the pan. Cutting into the bread prematurely will affect the texture and make it gummy, since it is still cooking on the inside even after it’s removed from the oven.
- Once fully cooled, cut into slices using a bread knife. Store in a sealed container (zip-top bag or bread box).
This type of bread is perfect for sandwiches, cinnamon toast, garlic toast, butter bread, and more! My kids will eat a plain slice and be happy as can be. Let me know if you try this recipe and how it turns out! Happy baking!!
